

Route website form data from external web site
Send your website's form data to an EnGuard email address when your site is hosted somewhere else.
These steps are for a website hosted with an external web host on a Linux server running cPanel, not hosted by EnGuard. Your screens may look different depending on the cPanel version your host runs.
If you run a WordPress website, try the steps below first. If they do not work, install an SMTP plugin and set it up with this tutorial. Some web hosts block outbound SMTP traffic, so contact your host to check if they are blocking your website.
Part 1: Find your mail server address
You will use the mail server address in the steps below.
Step 1: Open webmail in your browser
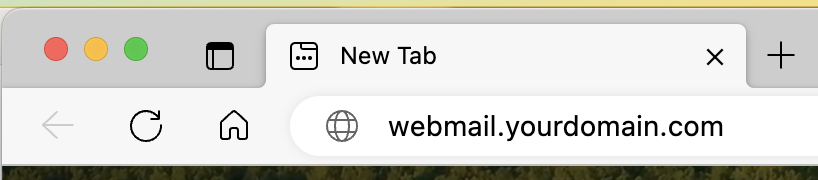
Open a web browser on your computer and type webmail.yourdomain.com in the address bar. Replace yourdomain.com with your own domain name.
For example, if your email address is bob@xyzhealth.com, you would type in webmail.xyzhealth.com
Type it in the address bar at the top of the browser, not in a search box (Google, Bing, Yahoo and so on). Do not type http:// or https:// in front of it.
Step 2: Find your mail server address
You will be sent to your mail server automatically.
Your mail server address is the first portion of the URL.
In this example, the mail server address is: mail.enguard.com

Step 3: Write it down
Write down your mail server address. You will need it for the steps below.
Part 2: Change the settings at your web host
Step 4: Open Email Accounts
Log in to cPanel at your external web hosting service, then click Email Accounts. You may need to go into Advanced settings.

Step 5: Delete the email addresses
Make sure no email addresses are listed. If there are any, delete them all. The system user cannot be deleted.

Step 6: Open Email Routing
Go into Email Routing.

Step 7: Choose Remote Mail Exchanger
Select Remote Mail Exchanger.
Click Change.

Step 8: Open the DNS Zone Editor
Go into DNS Zone Editor to change your MX record.


Step 9: Enter your mail server address
Enter your mail server address in the Destination field.
Click Save.

Step 10: Set the form's "from" address
In the settings or code for your web form, do not use any address @ your domain name as the "from" address.
For example, the "from" address cannot be info@abc.com if it is delivering to info@abc.com. Our server sees that as a spoofed message and rejects it.
Use a made-up email address and domain name instead, for example webform@abcxyz.com. Make sure the domain name does not exist.
This helps the message pass all spam filtering and reach your inbox.
Good to know
SSL/TLS certificate
If you let prospects, patients, clients or employees send you information on any form on your website, you need to secure the website itself. A secure email address for the web form is required, but HIPAA guidelines and best security practices also require an SSL/TLS Certificate on your website. If you work with Patient Health Information, this is mandatory.
Talk to your web hosting provider, and make sure the SSL/TLS Certificate is installed before you turn on web forms that collect personal information.
If the forms still do not reach your email
Some web hosts block outbound SMTP traffic on their firewalls. Check whether your website is being blocked. If your web host refuses to unblock SMTP ports, you may need to move your website to EnGuard. We can migrate it for you free of charge.
Our web hosting works with our email service out of the box, so all form data is submitted and delivered securely from the web server to our email server with no extra setup. We can also install an SSL/TLS Certificate on your site so the connection between your website and the person filling out the form is encrypted, resulting in 100% secure transmission of form data to your inbox. Contact our support team if you are interested.