Email Setup in Mozilla Thunderbird for PC
Add your EnGuard email account to Mozilla Thunderbird on a Windows PC, step by step.
Mozilla Thunderbird is a free mail client that we support for Windows users. You can download it for free from Mozilla and start using it right away.
When this guide was written, the latest Thunderbird was 102.11.0. Update your software to the latest version so the screenshots match.
The screenshots are for reference only. Please read the instructions at each step.
Part 1: Find your mail server address
You will use the mail server address for both incoming mail server and outgoing mail server settings when adding your email account to Thunderbird.
Step 1: Open webmail in your browser
Open a web browser on your computer and type webmail.yourdomain.com in the address bar. Replace yourdomain.com with your own domain name.
For example, if your email address is bob@xyzhealth.com, you would type in webmail.xyzhealth.com
Type it in the address bar at the top of the browser, not in a search box (Google, Bing, Yahoo and so on). Do not type http:// or https:// in front of it.
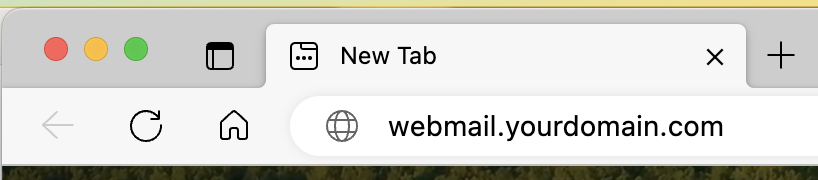
Step 2: Find your mail server address
You will be sent to your mail server automatically.
Your mail server address is the first portion of the URL.
In this example, the mail server address is: mail.enguard.com

Step 3: Write it down
Write down your mail server address. You will need it for the steps below.
Part 2: Add your email account to Thunderbird
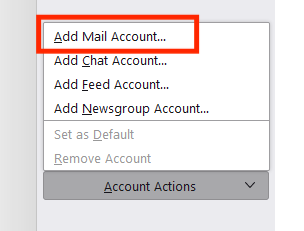
Step 4: Start adding an account
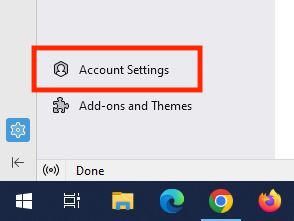
Select Account Settings, then Add Mail Account.
Step 5: Fill in your details
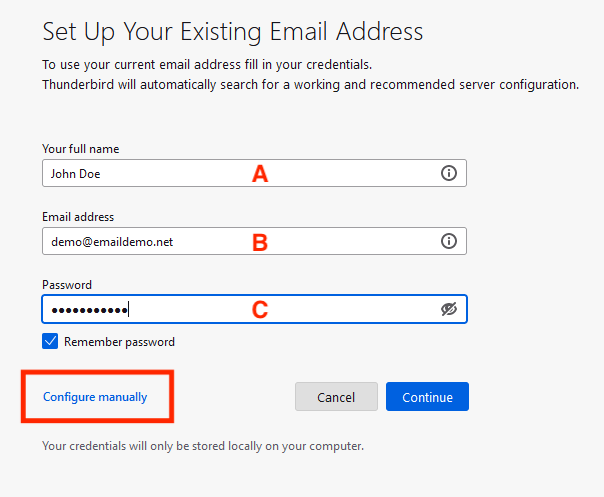
A) Enter your name. This is the name recipients see on all outgoing messages.
B) Enter your email address
C) Enter your password
Click Configure Manually.
Step 6: Enter your server settings
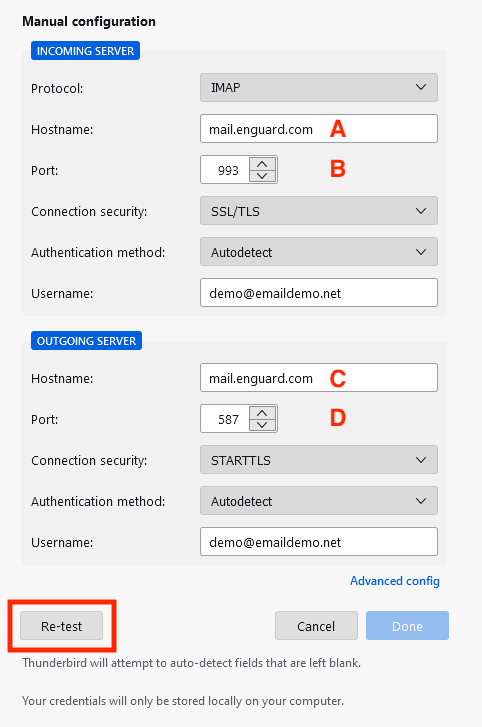
A lot of people get stuck here. Make sure you finished Steps 1 to 3 above, and type your mail server address, email address and password very carefully. Most of our support calls come from a misspelled or mistyped detail.
A) Enter your mail server address
B) Select 993
C) Enter your mail server address
D) Select 587
Click Re-test.
Step 7: Finish
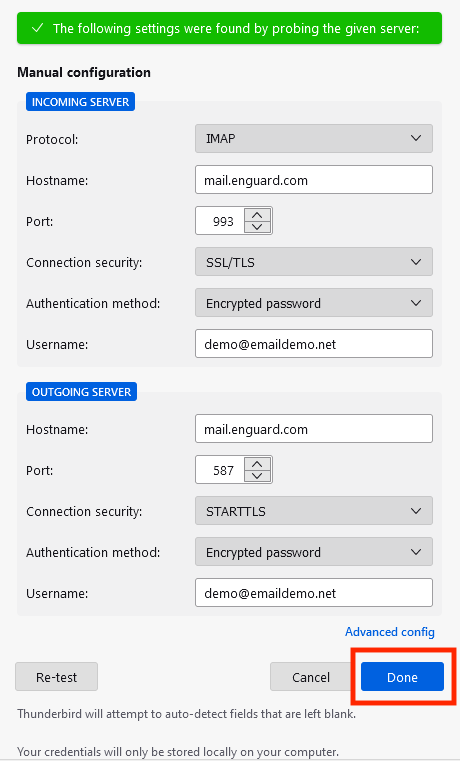
Click Done.
Step 8: Open your Inbox
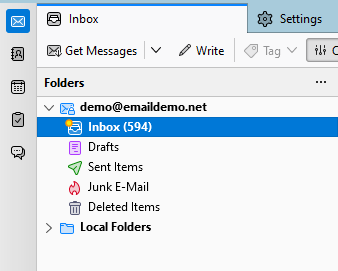
Click into your Inbox. Your folders start to download from our webmail server.
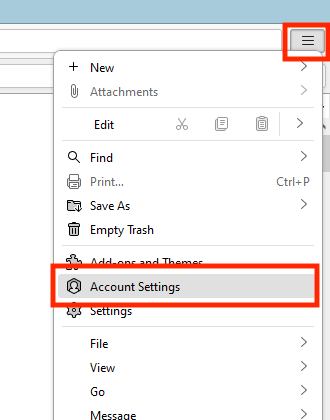
Step 9: Open Account Settings
Click the menu icon, then Account Settings.
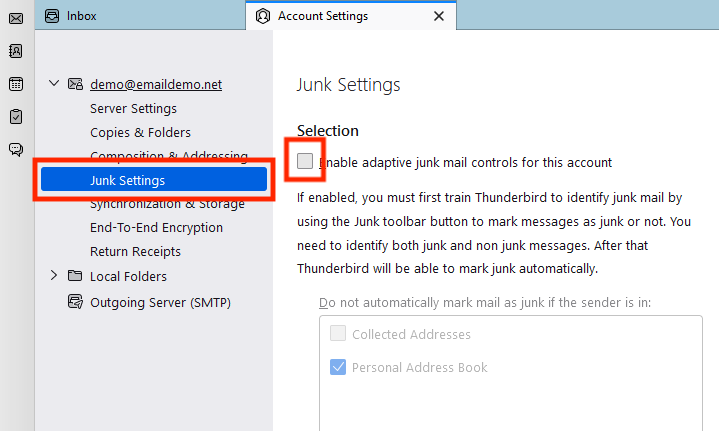
Step 10: Turn off junk controls
Go into Junk Settings.
Un-check Enable adaptive junk mail controls for this account. You can close the Settings tab after this.