

Referral Incentive Program
Sign up with a colleague's referral code, get your first month free and give your colleague a credit.
Welcome to EnGuard. We're excited to have you with us!
You get your first month free, and the colleague who referred you earns a credit equal to that amount.
To make sure your colleague gets the referral credit, follow these steps. Pay attention to Steps 6, 8 and 10.
Step 1: Go to our website
Go to www.enguard.com.
Click SEE PLANS & PRICING.

Step 2: Choose a plan
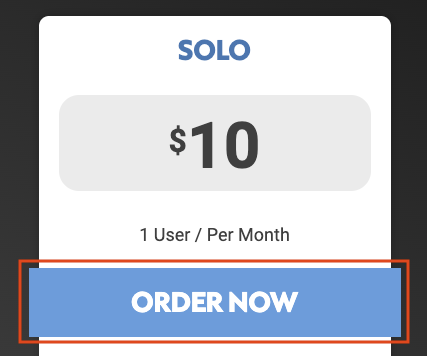
Select a plan and click Order Now. The Solo Plan is selected in this example.
Step 3: Choose a domain name
You must own a domain name to use our service. EnGuard is an ICANN-accredited Domain Registrar, so you can register or transfer a domain with us.
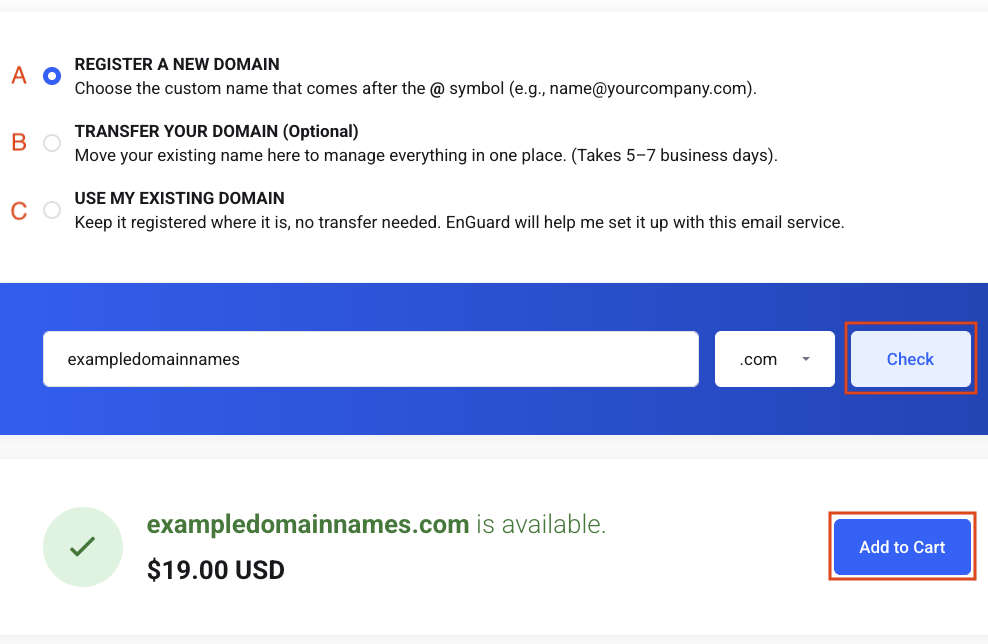
- Register a new domain name. This is a separate annual charge and is non-refundable.
- Transfer a domain name to us from another registrar (for example Godaddy or Register.com).
- Use a domain name you already own and leave it at your current registrar.
In this example, register a new domain is selected. When you find an available domain name, click Add to Cart.
Step 4: Look at similar domain names
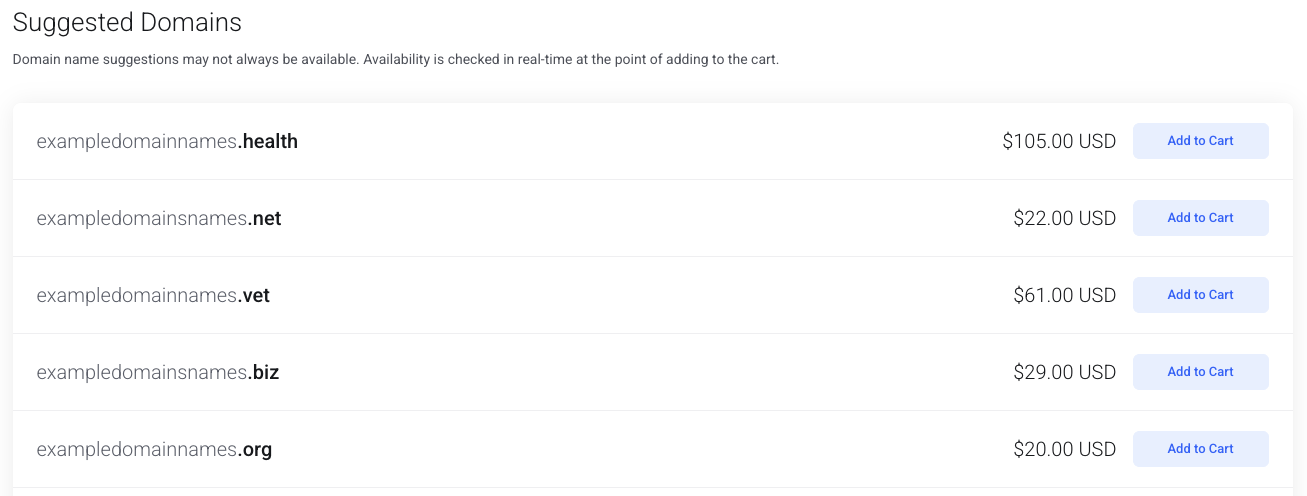
We also show similar domain names that are available. If you prefer one, select it instead.
Scroll down and click Continue.

Step 5: Pick optional features
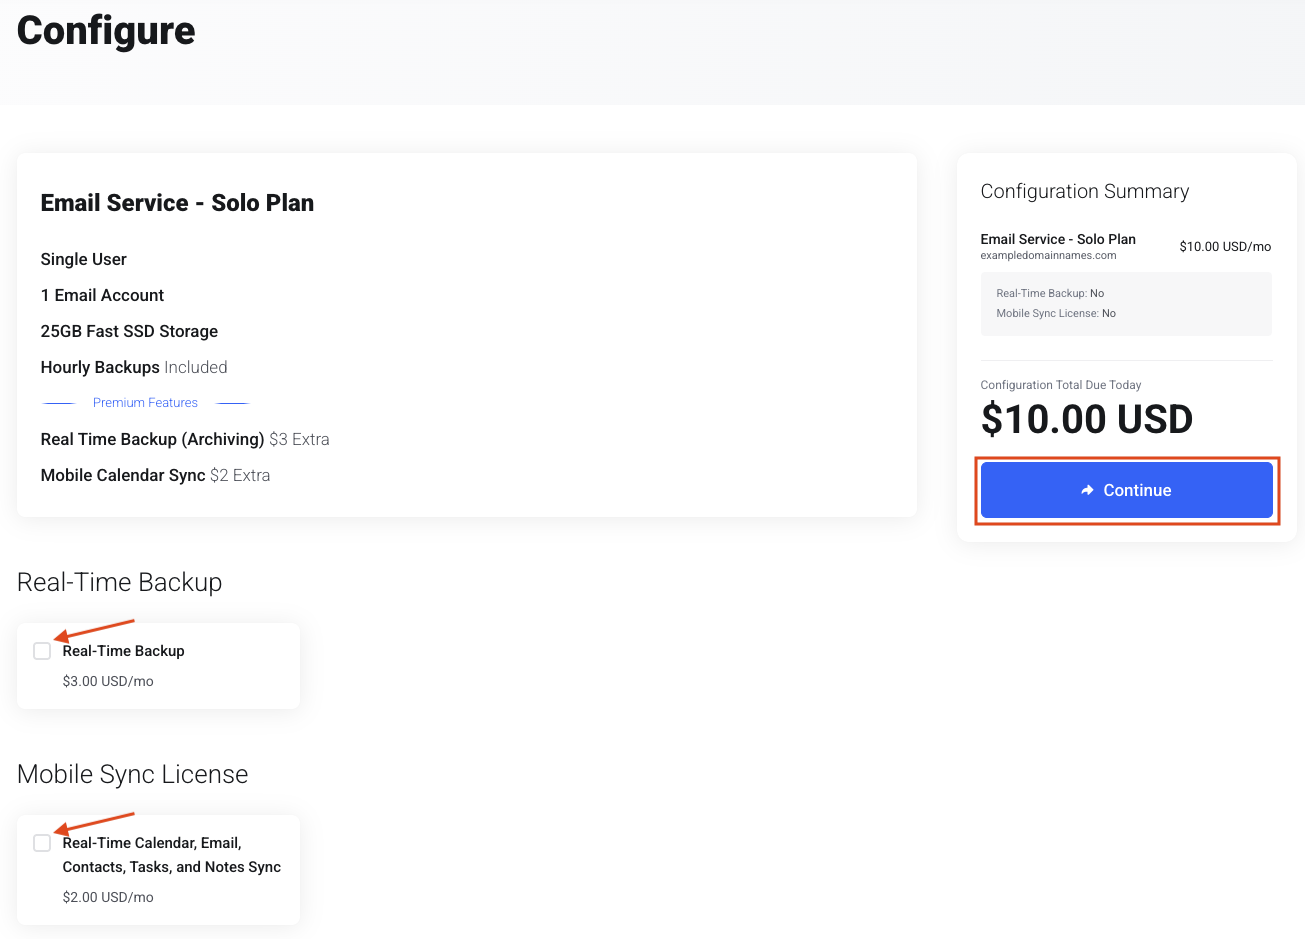
Select any optional features, then click Continue.
Step 6: Enter your referral code
This is the Order Summary. To get your First Month FREE, enter the referral code from your colleague and click Validate Code.


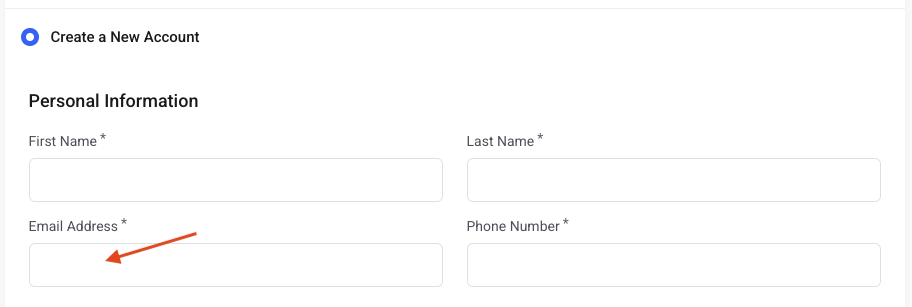
Step 7: Fill in your information
We need an existing email address to send your order confirmation and credit card receipt. After you create an EnGuard email address, you can change your main contact address to it.
Step 8: Say who referred you
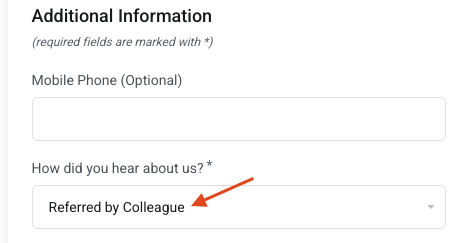
Under Additional Information, open the How did you hear about us? drop-down and select Referred by Colleague.
Important: your colleague only gets the referral credit if you do this.
Step 9: Create a billing password
The password you enter here is for your billing account in our system. It is not for your new email account.
The Generate Password button creates a strong password for you. If you use it, write the password down.

Step 10: Name your colleague
Under Additional Notes, enter your colleague's name or their company name.
Important: this also helps make sure your colleague gets the credit.

Step 11: Place your order
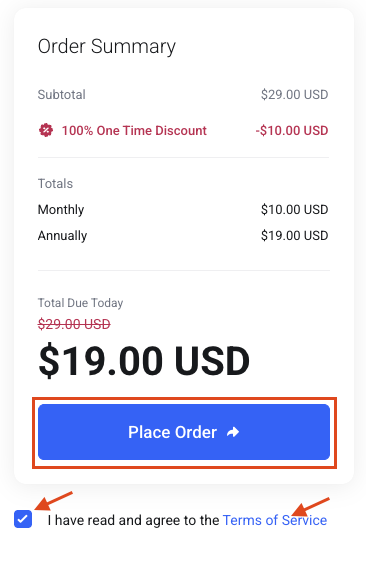
Read the Terms of Service, check the box and click Place Order.
That's it. Just wait for our phone call. An Onboarding Specialist will guide you through the whole process.