

eBox Desktop Client Software for macOS Monterey
Install the eBox desktop software on a Mac running macOS Monterey.
Before you start
- Make sure your Mac is updated to the latest macOS so your screen matches the pictures. When this guide was written, the latest version was Monterey 12.6.1.
- Internet speed of at least 10 Mbps download and 1 Mbps upload per user. For example, an office with 5 users needs 50 Mbps download and 5 Mbps upload. Faster is better.
- At least 8GB RAM. Use 16GB or more if you run lots of apps at once.
- 10GB of free disk space for the eBox Cache.
- Only one eBox user can be set up per computer. You cannot switch between users.
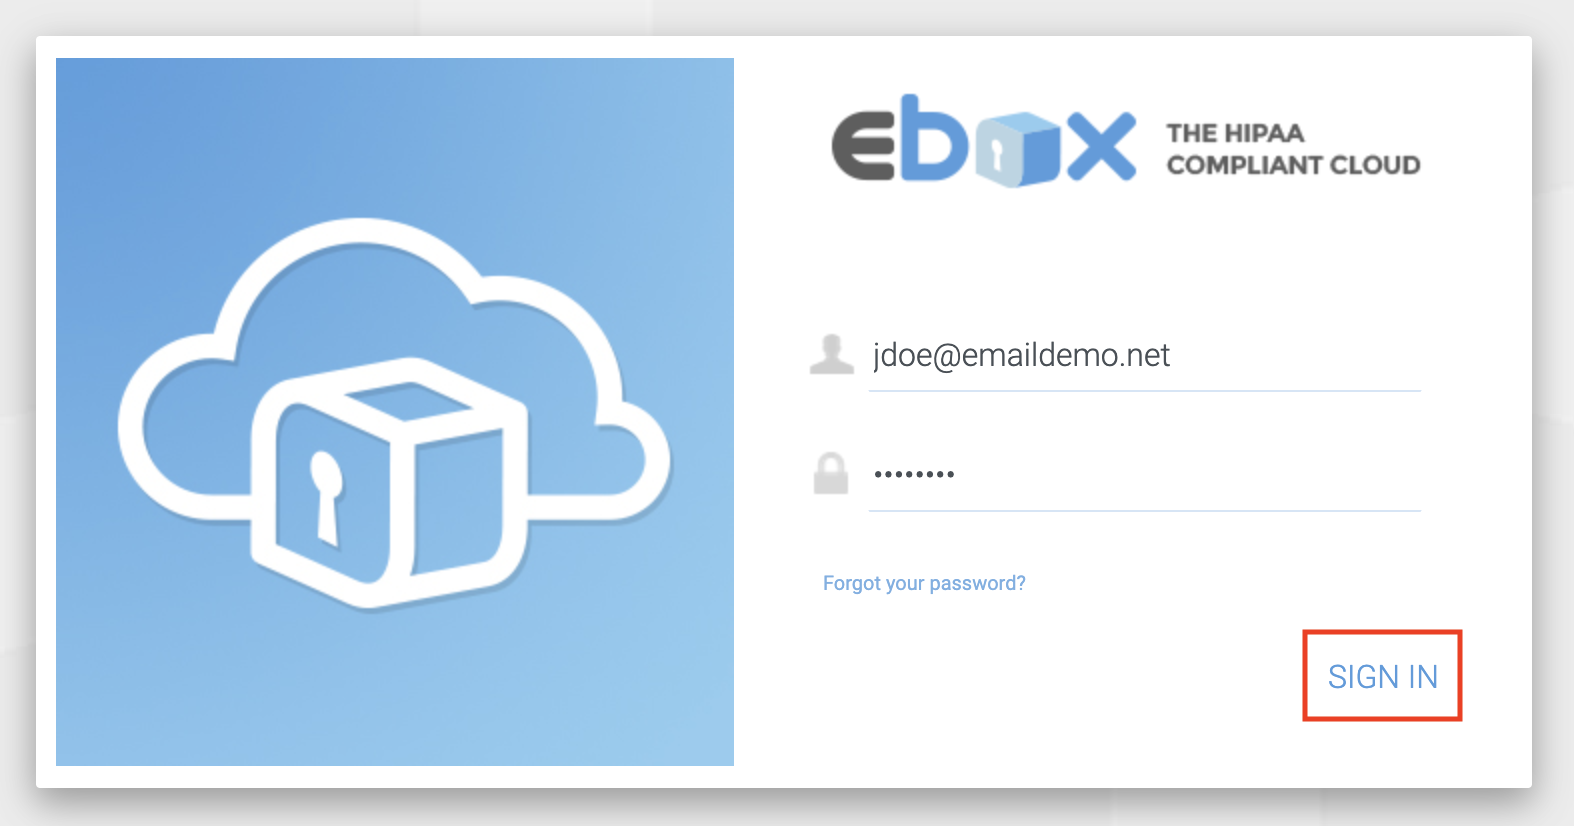
Step 1: Sign in to the eBox website
Step 2: Open the Mac installer page
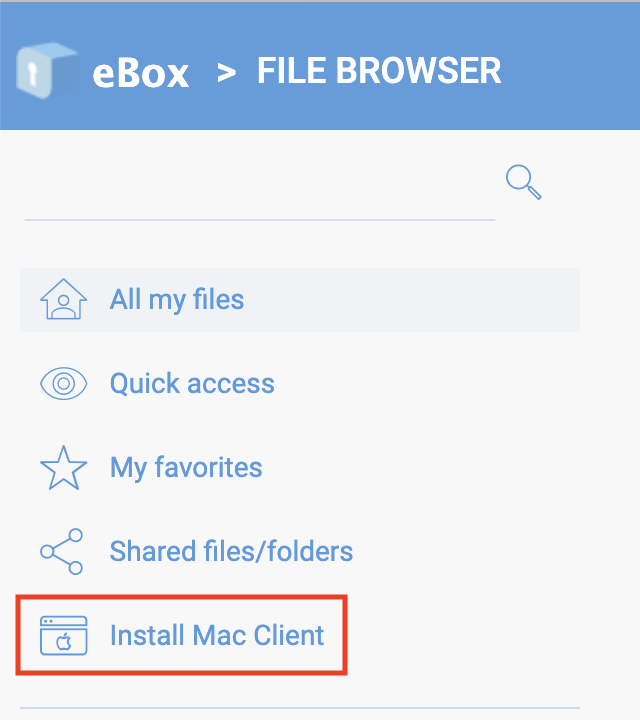
Click Install Mac Client (left side).
Step 3: Download the installer
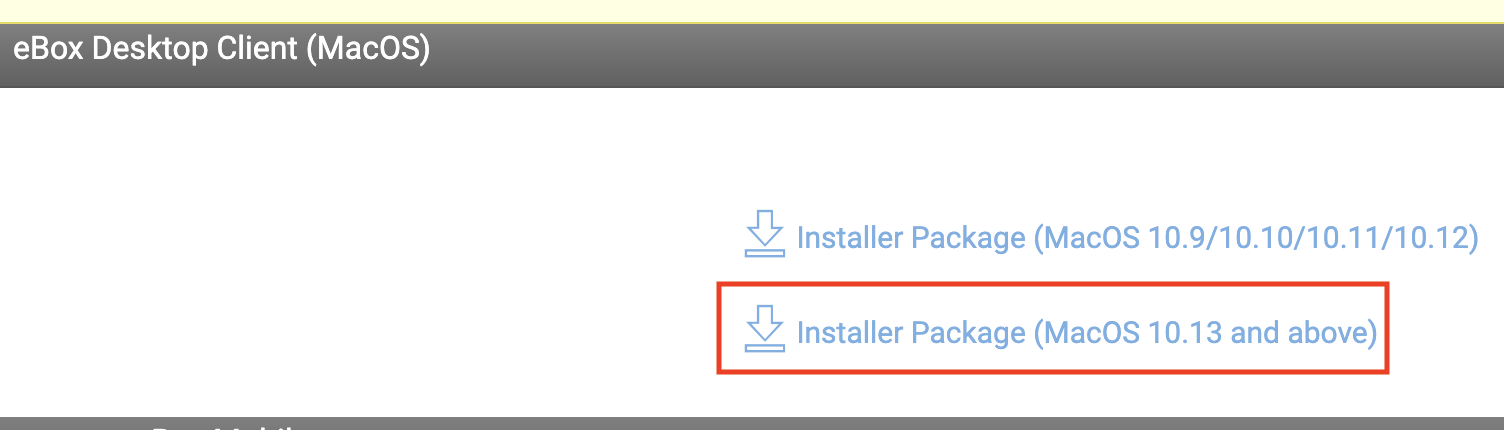
Download the Installer Package (MacOS 10.13 and above). Choose the bottom link.
Step 4: Open the installer
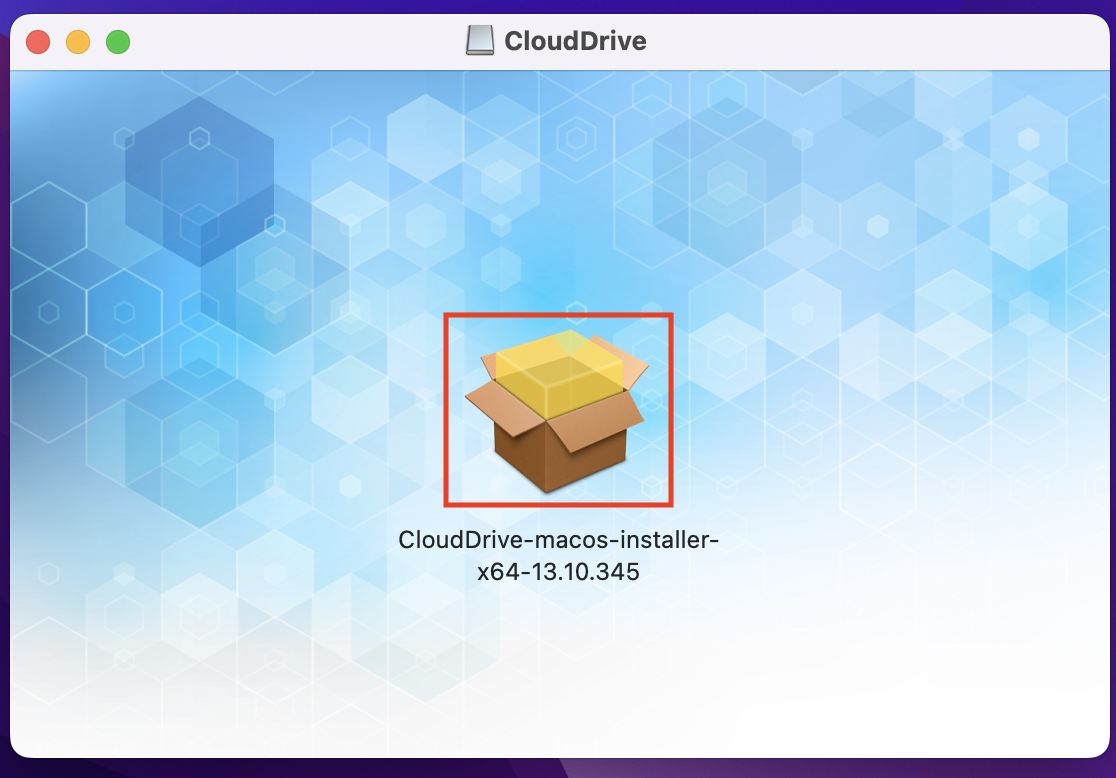
Double-click the downloaded dmg file, then double-click the package box.
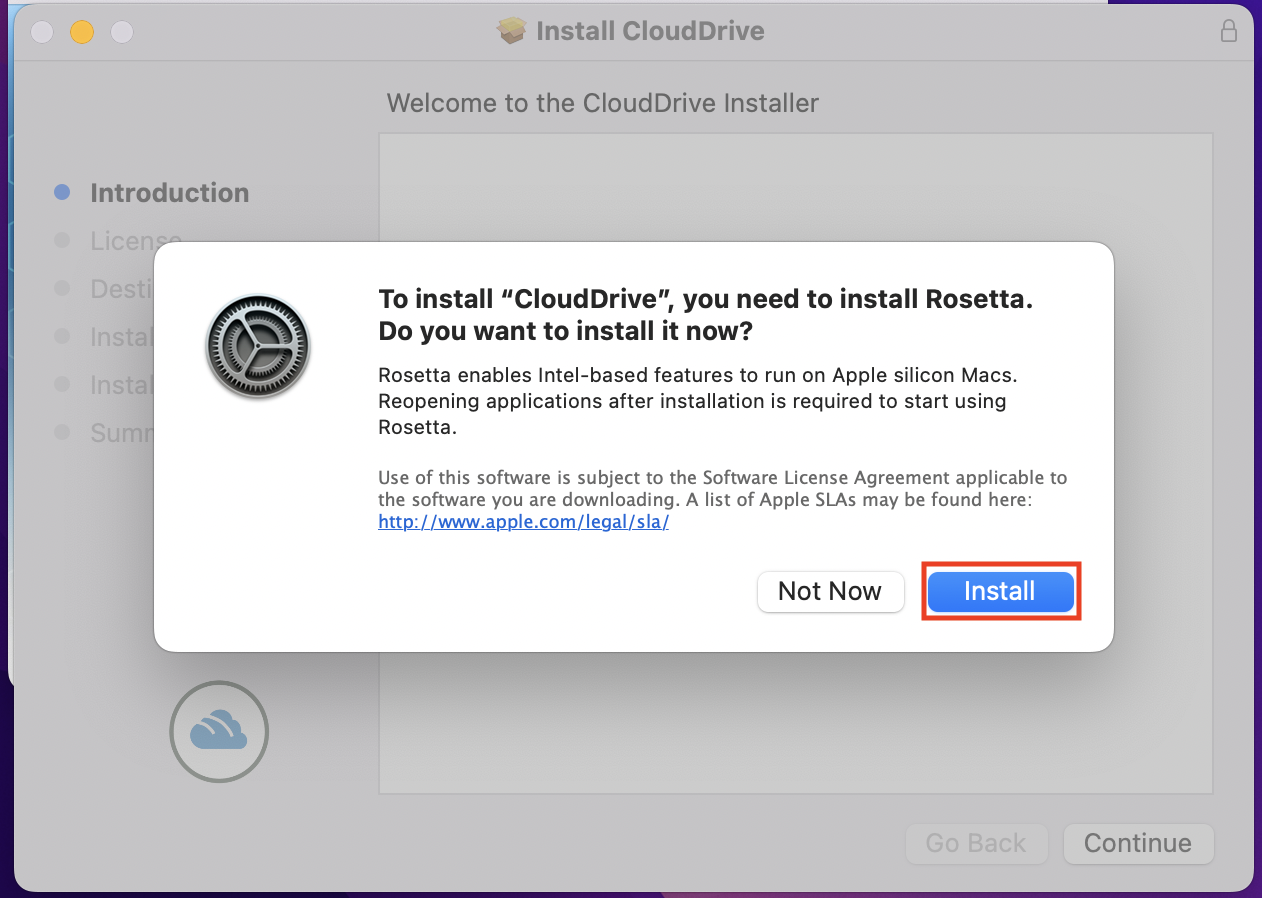
Step 5: Install Rosetta if asked
If your Mac has an M1 or M2 chip, the installer asks you to install Rosetta. Non-Intel chips need it.
Click Install.
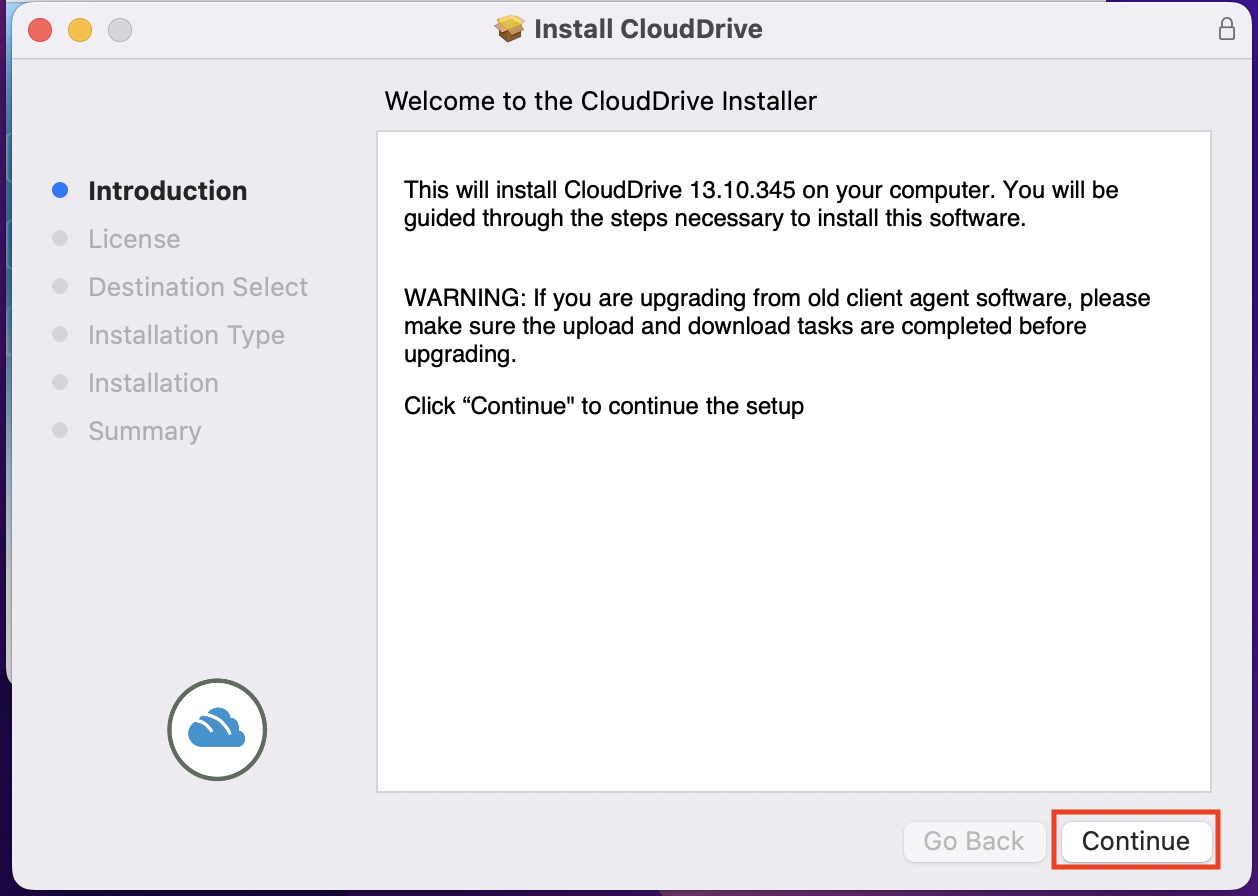
Step 6: Continue past the Introduction page
On the Introduction page, click Continue.
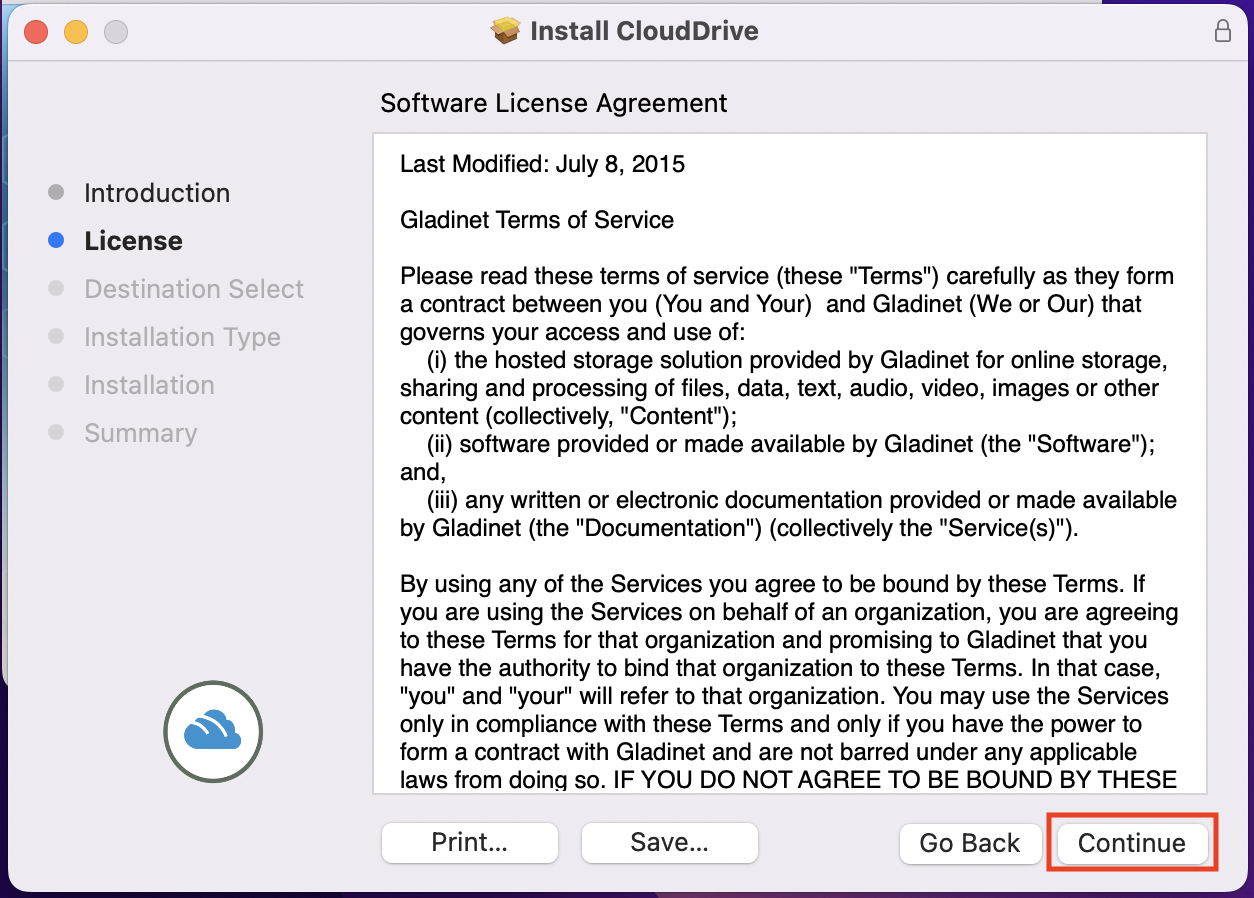
Step 7: Continue past the License page
On the License page, click Continue.
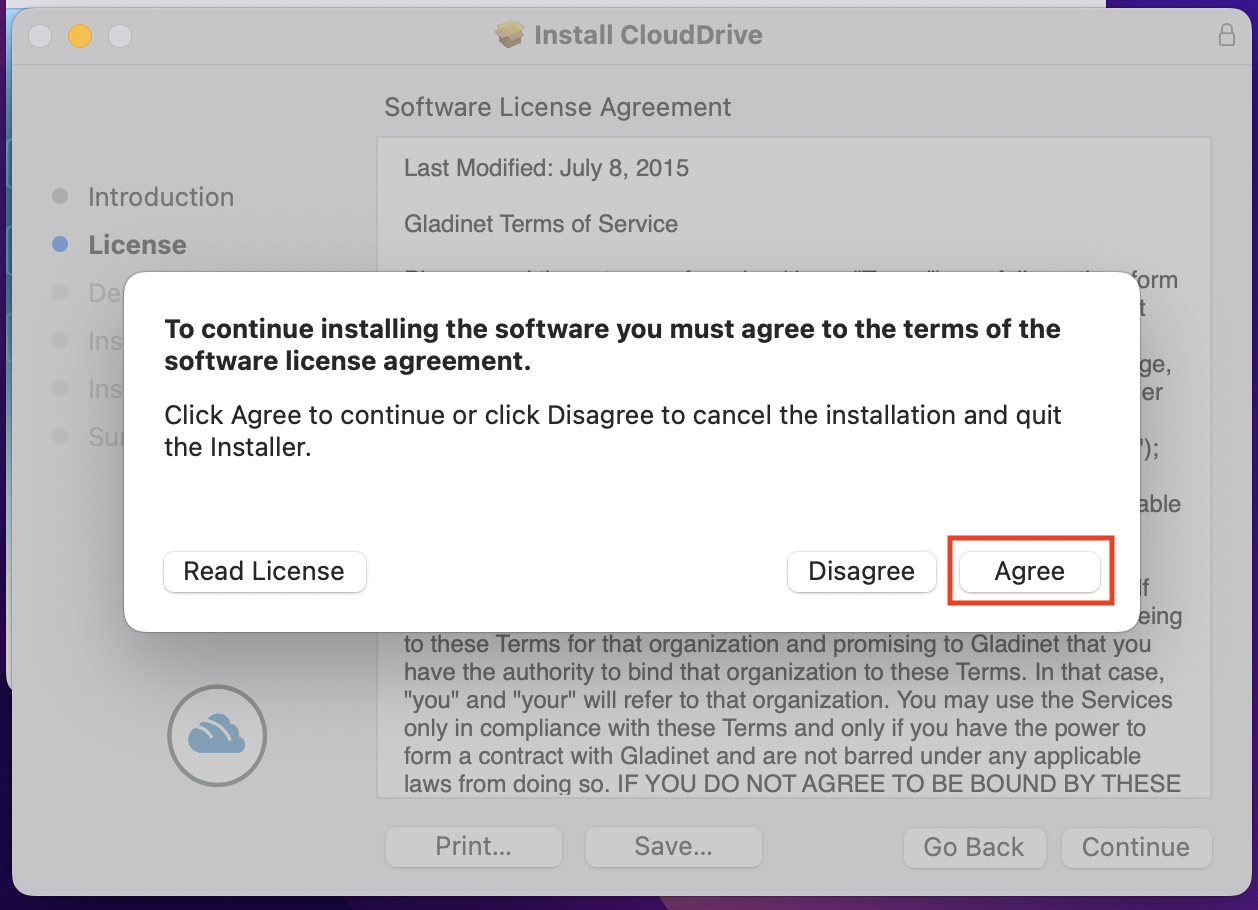
Step 8: Agree to the license
Agree to the terms of the software license agreement.
Step 9: Install
Click Install.
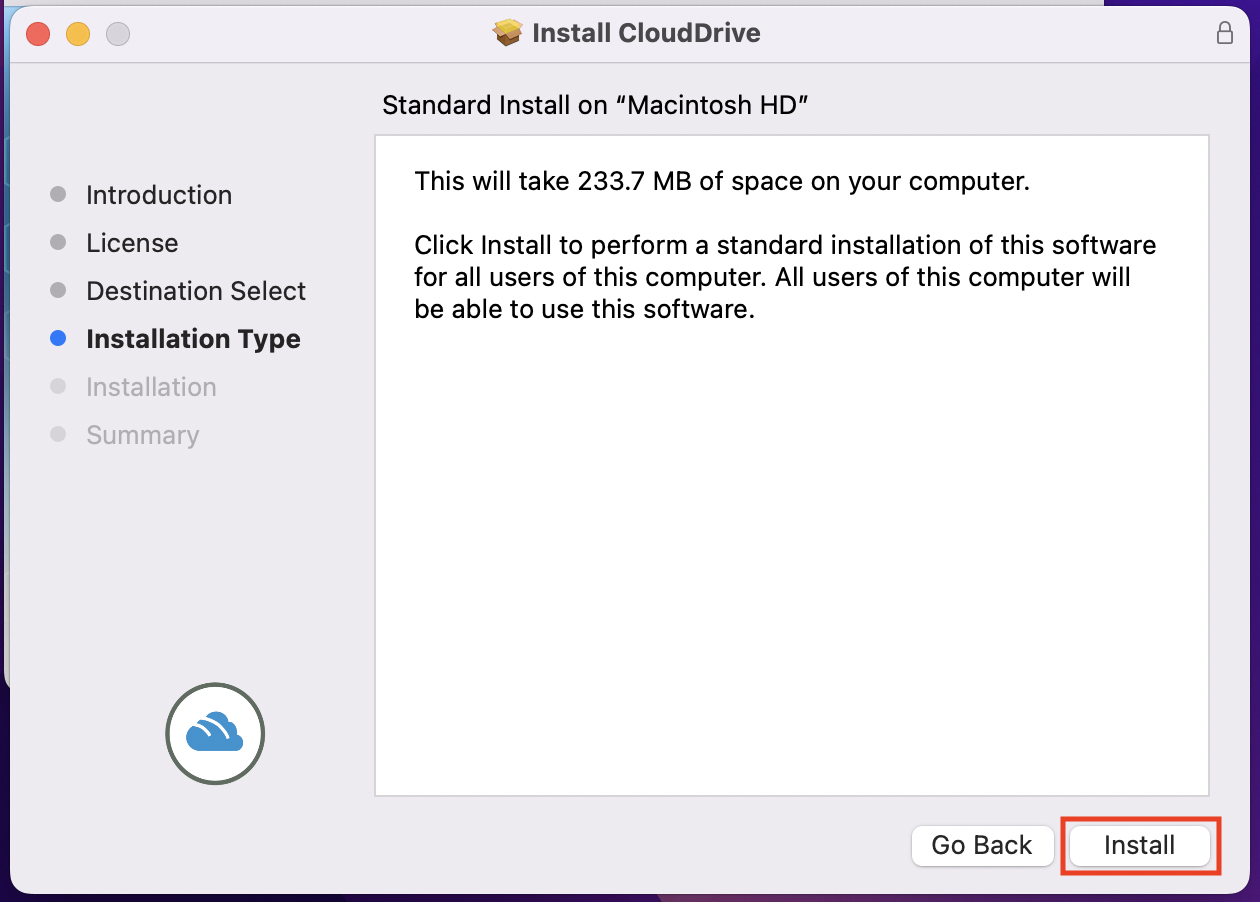
Step 10: Let it install
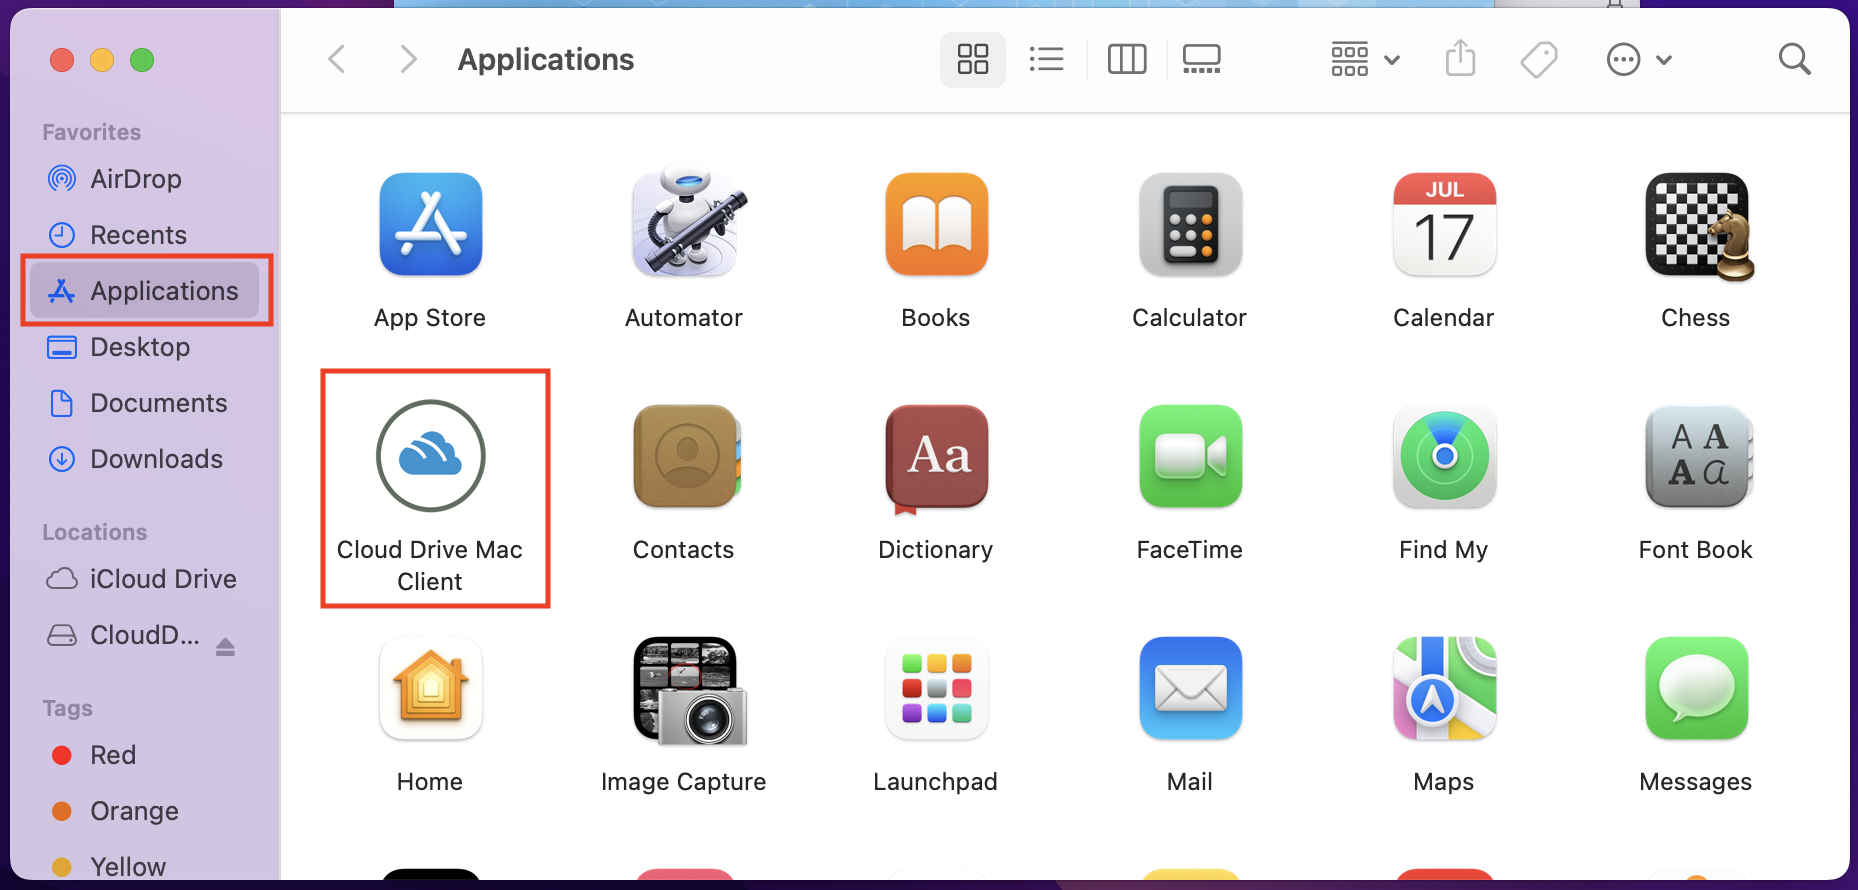
The installer puts Cloud Drive Mac Client in your Applications folder.
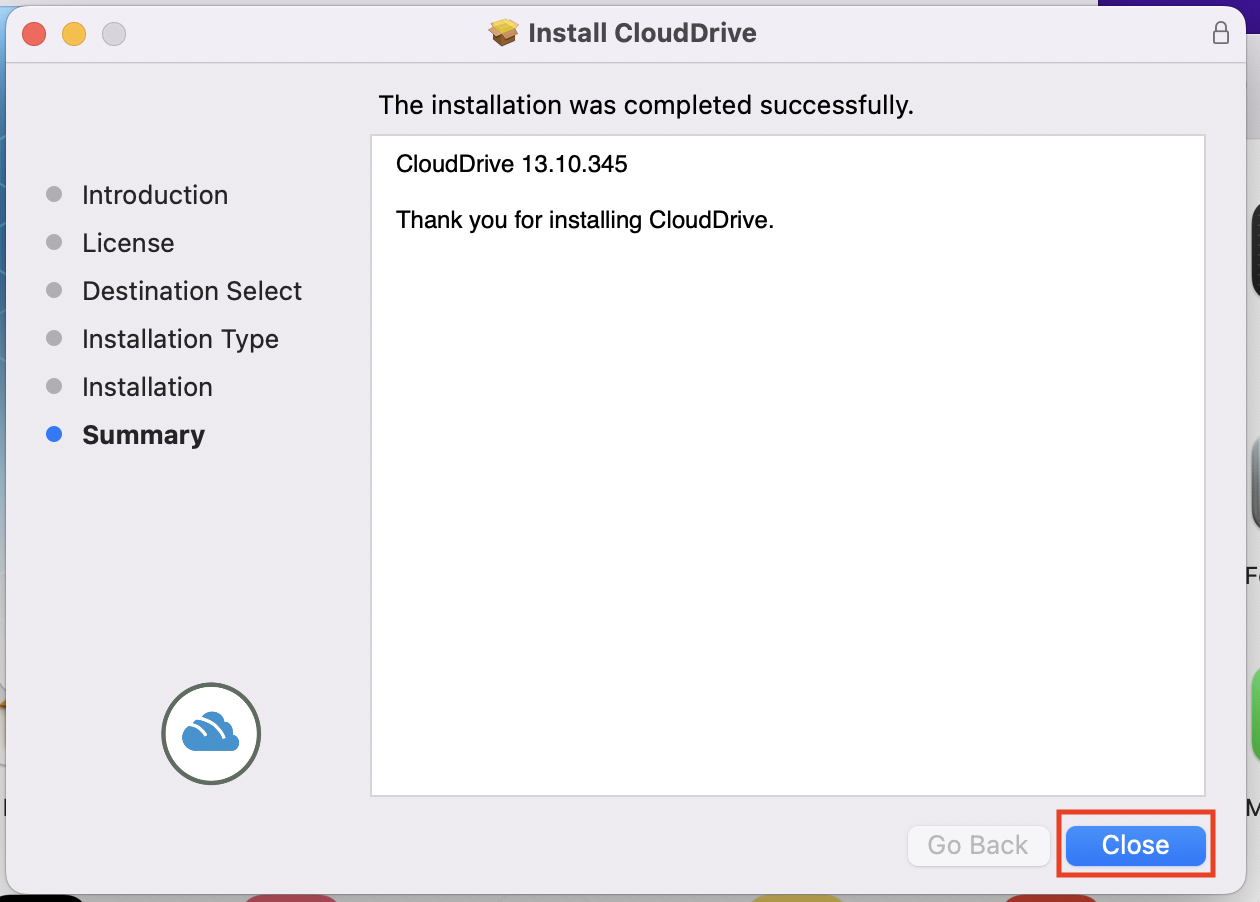
Step 11: Close the installer
When it finishes, click Close.
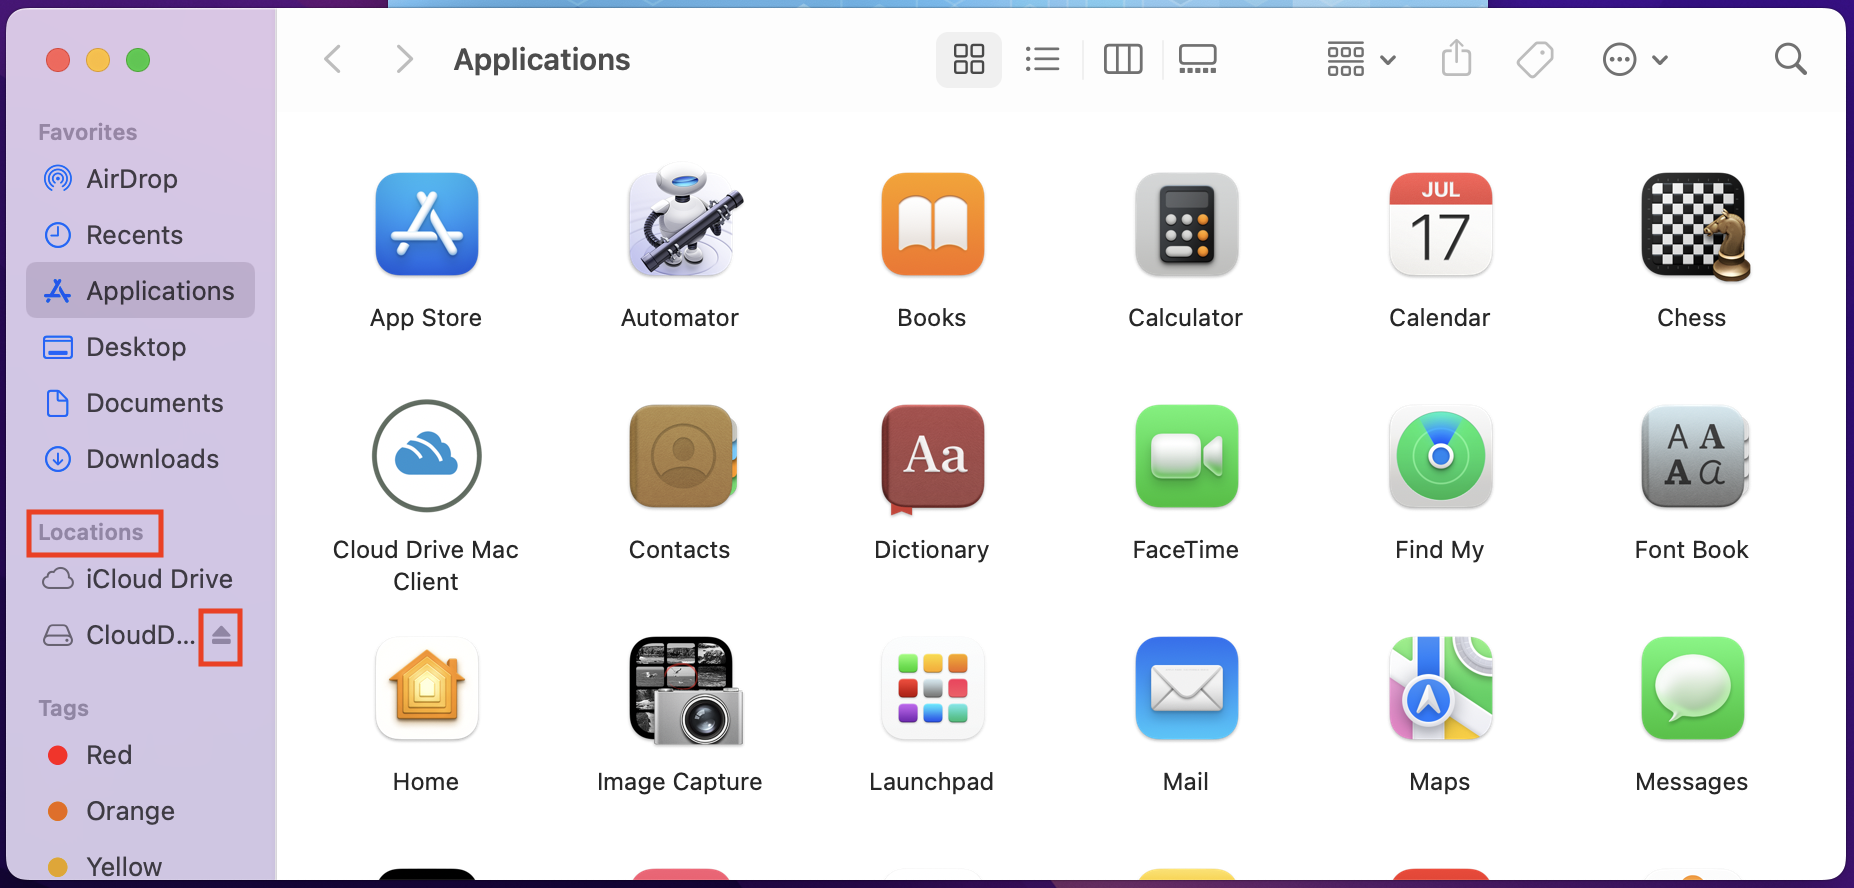
Step 12: Eject the installer disk
Eject CloudDriveInstallation under Locations.
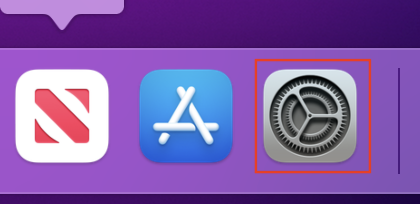
Step 13: Open System Preferences
Open System Preferences.
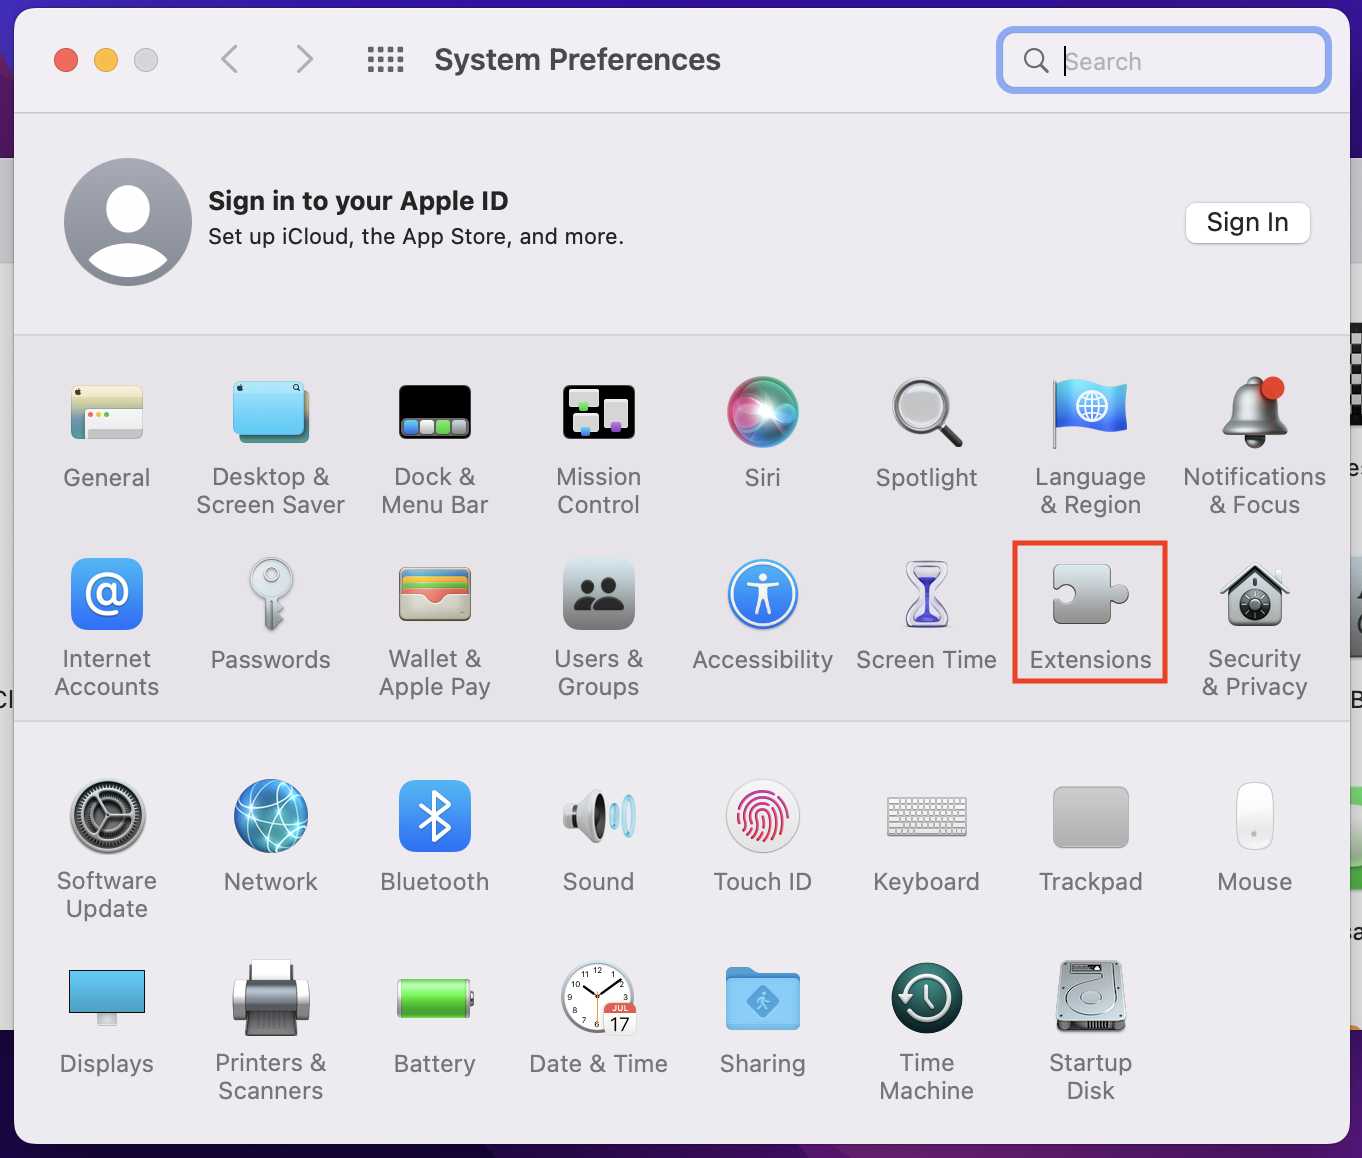
Step 14: Open Extensions
Select Extensions.
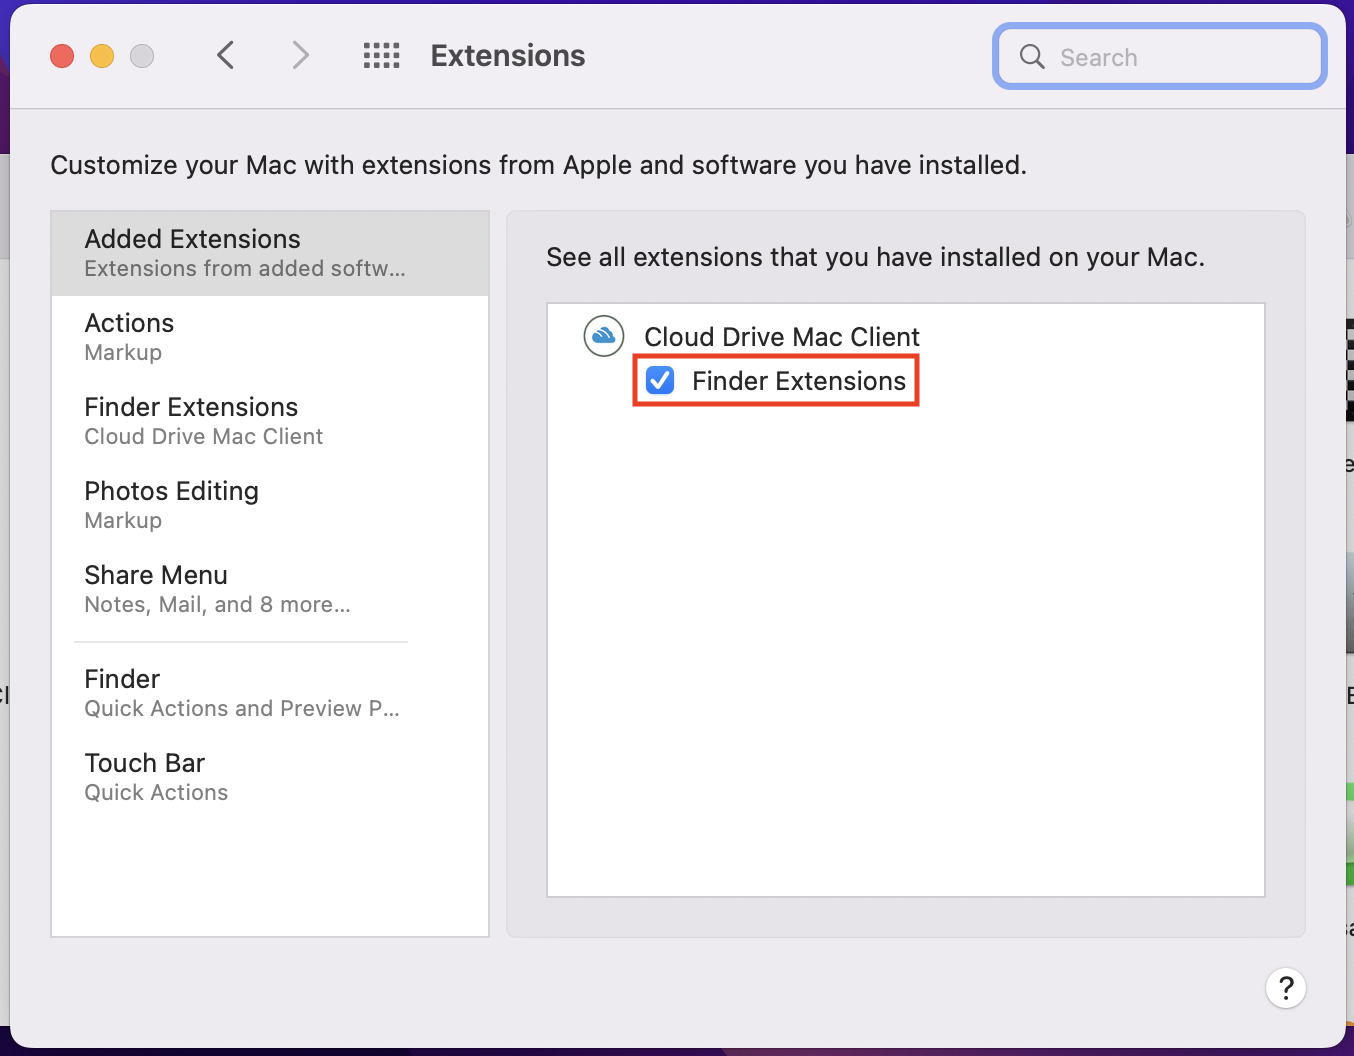
Step 15: Turn on the Finder extension
Turn on Finder extensions under Cloud Drive Mac Client.
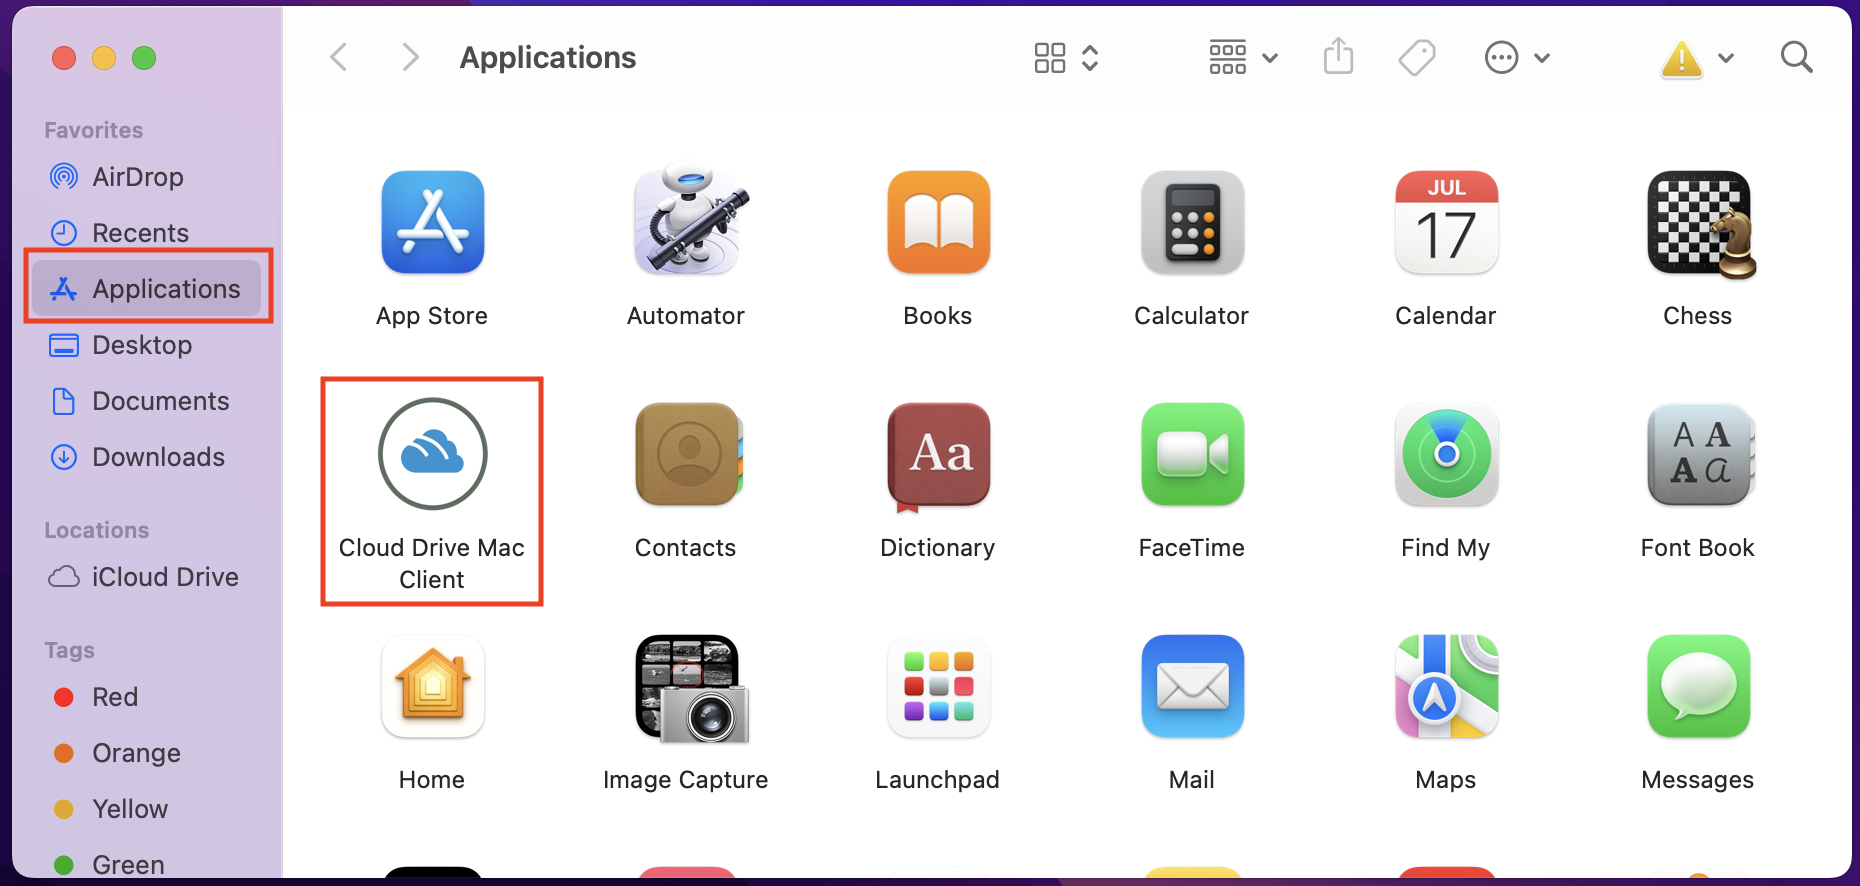
Step 16: Launch eBox
Open Applications and double-click Cloud Drive Mac Client.
Step 17: Find the shortcuts
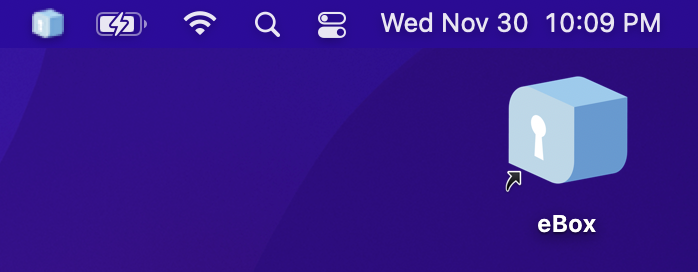
A shortcut is placed on your desktop and in the top right menu bar.
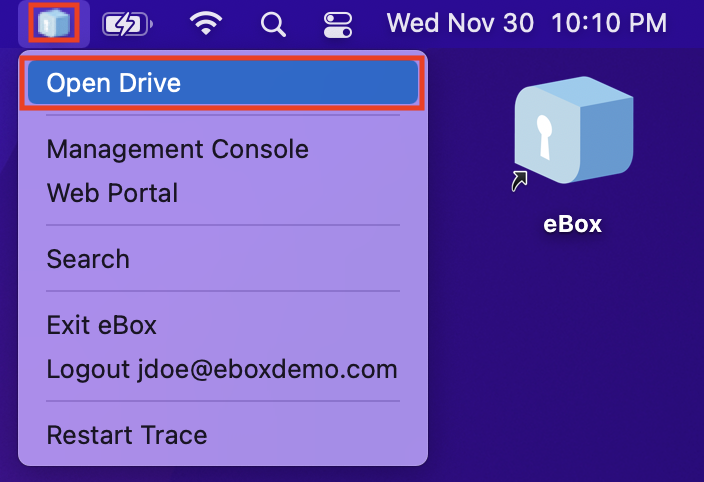
Step 18: Open eBox Drive
Open eBox Drive from the top right menu bar.
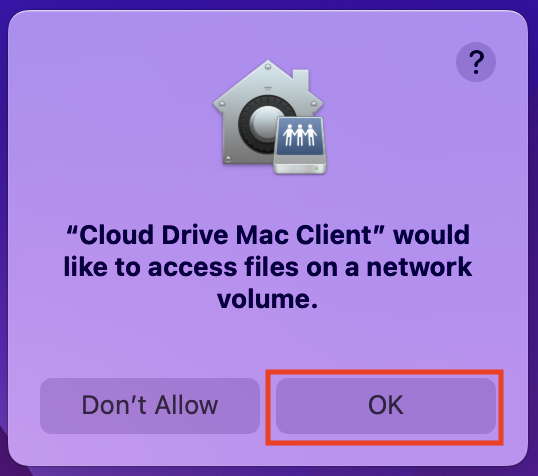
Step 19: Click OK
At the prompt, click OK.
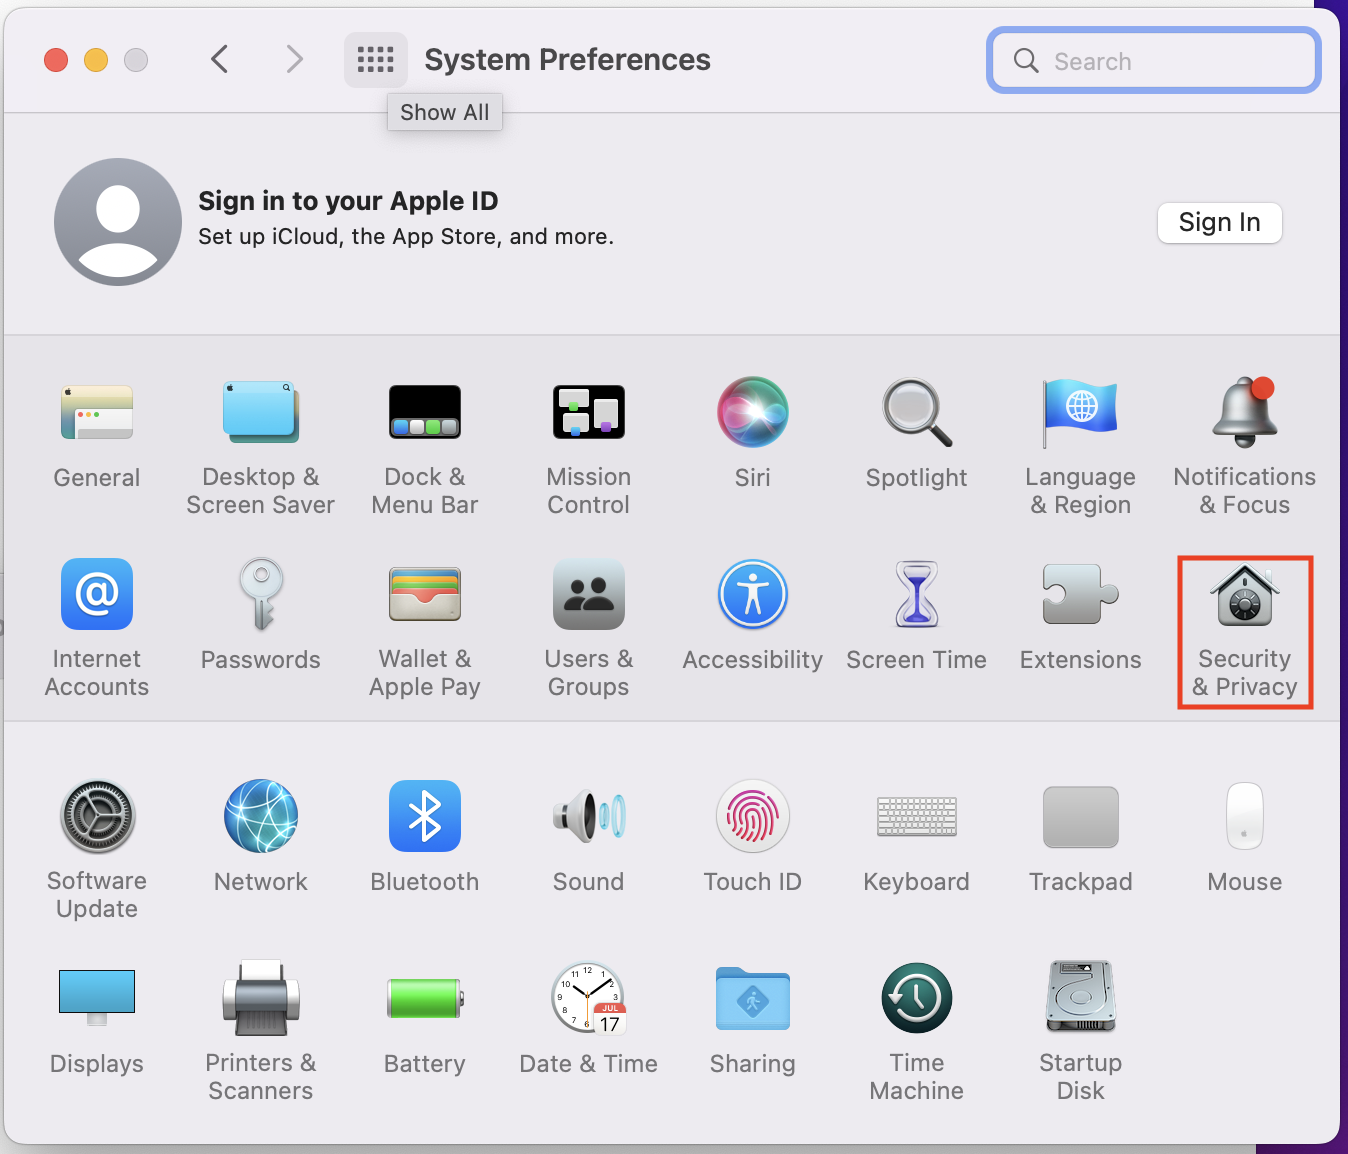
Step 20: Open Security & Privacy
In System Preferences, click Security & Privacy.
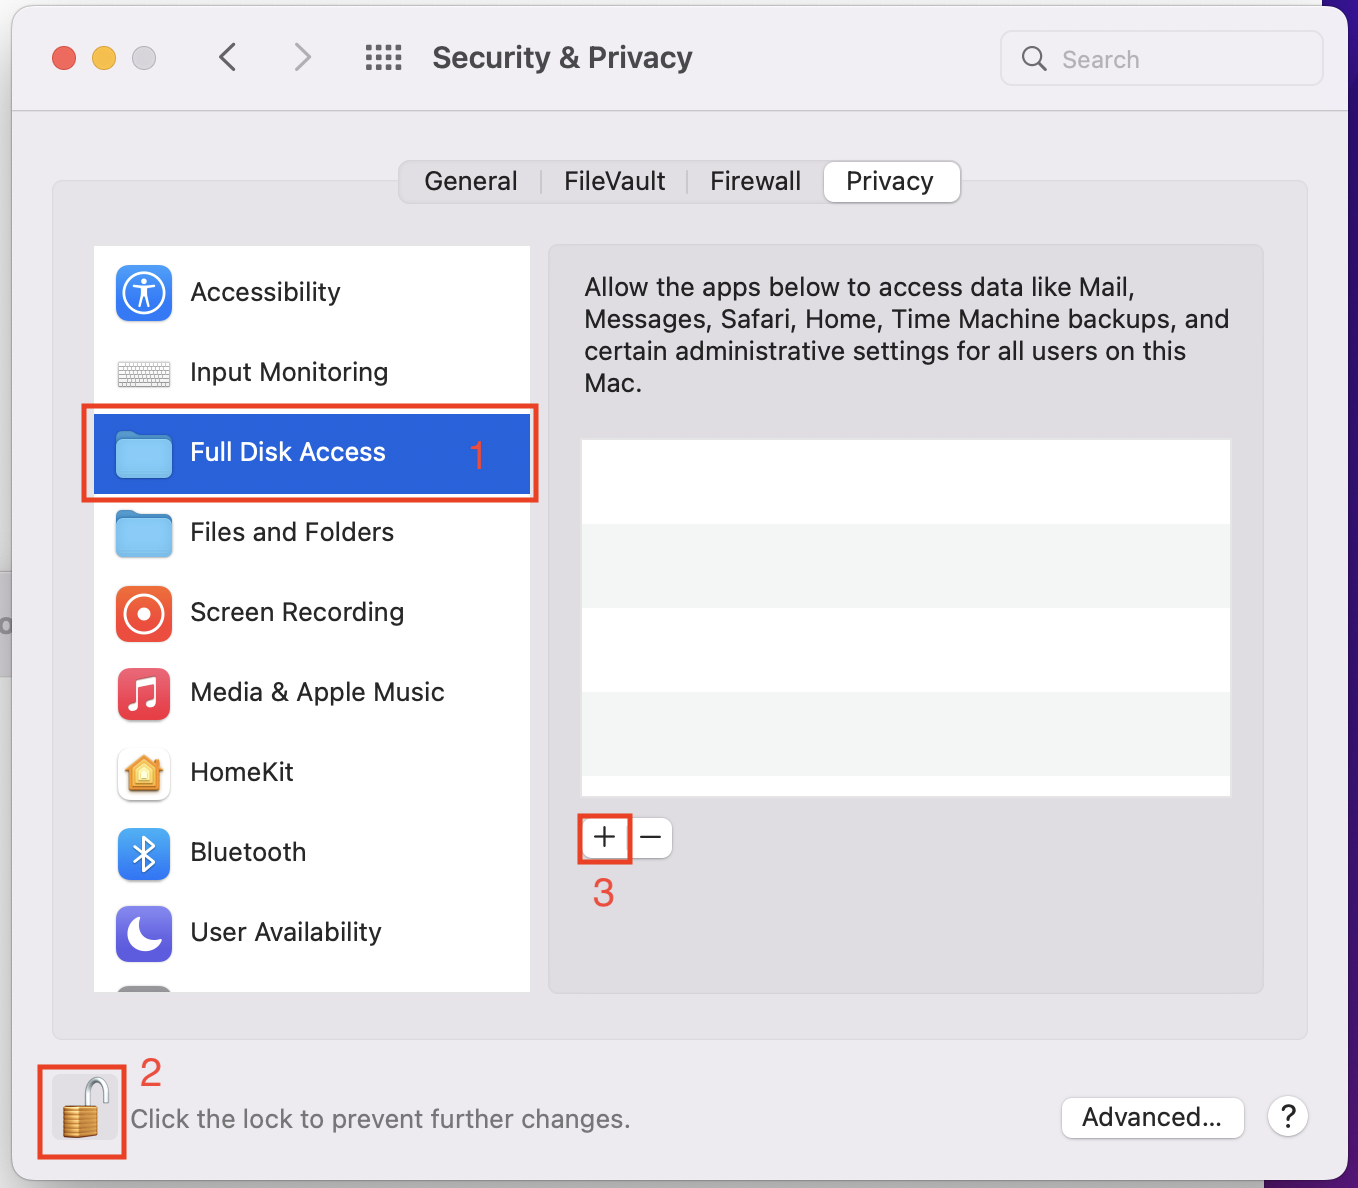
Step 21: Open Full Disk Access
Scroll down on the left side, then:
- Click Full Disk Access.
- Unlock with your user name and password.
- Click the + button.
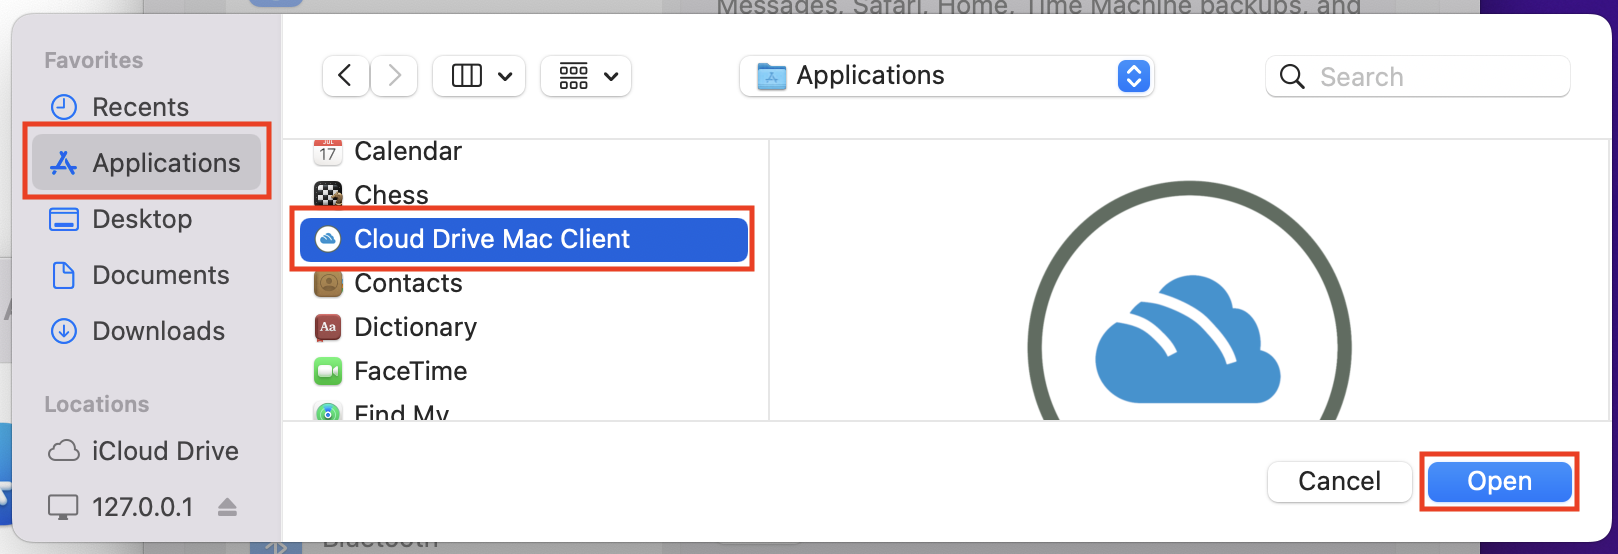
Step 22: Pick the eBox app
Select Applications, select Cloud Drive Mac Client, then click Open.
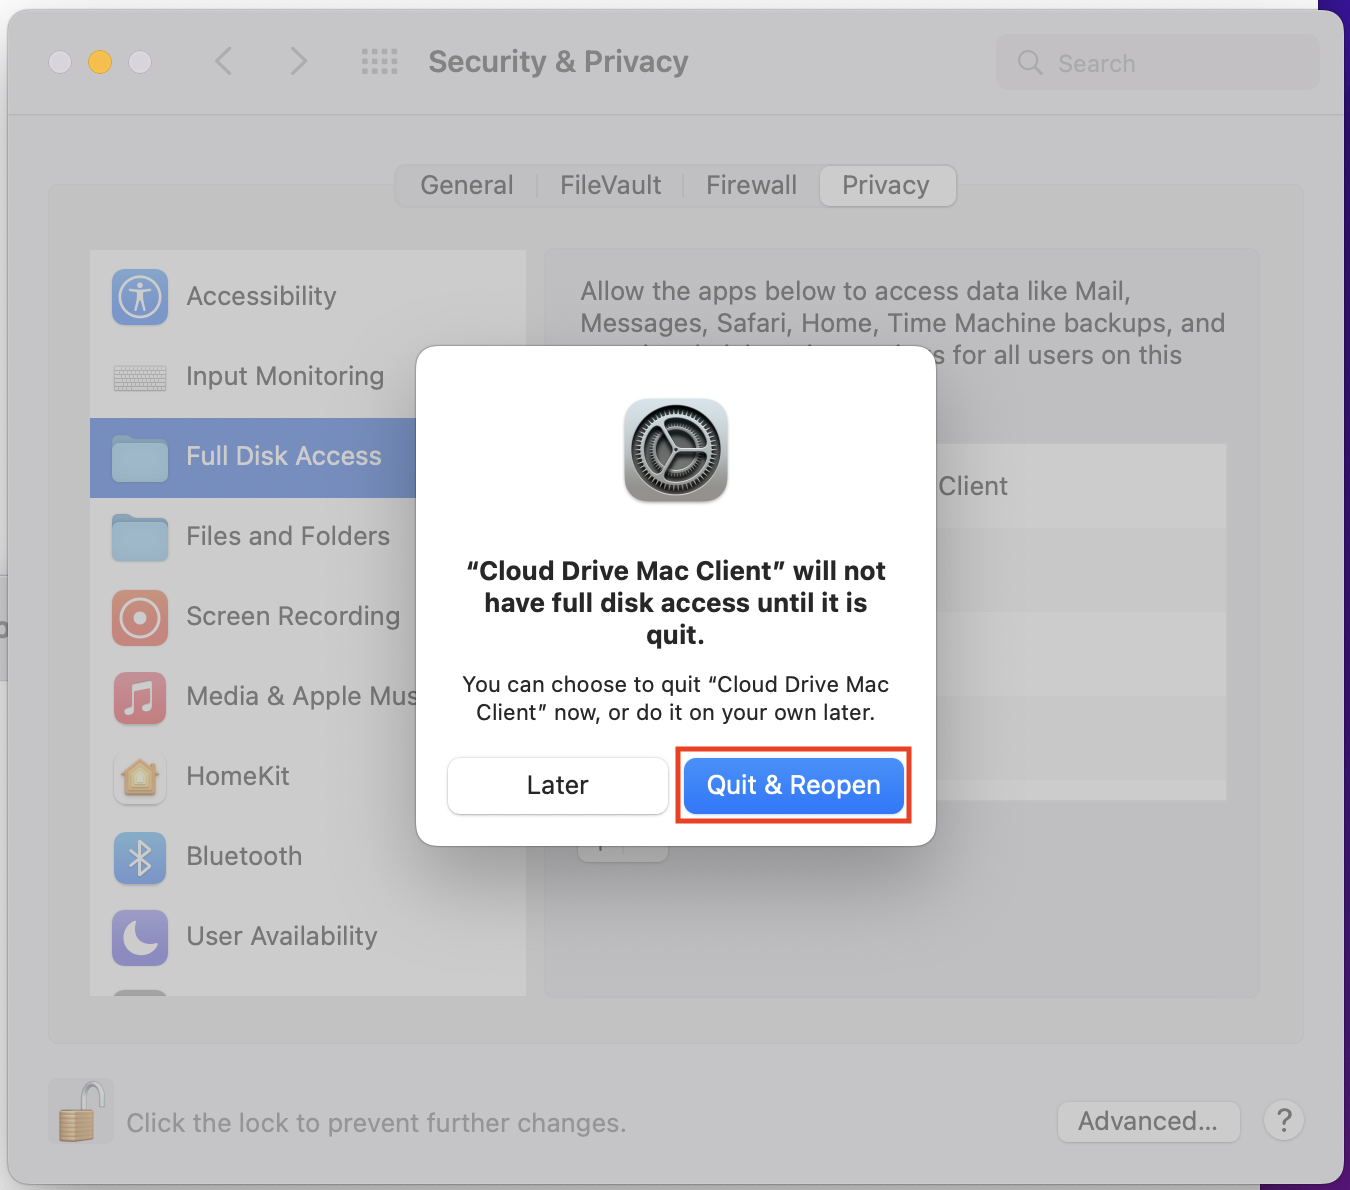
Step 23: Reopen the app
Click Quit & Reopen.
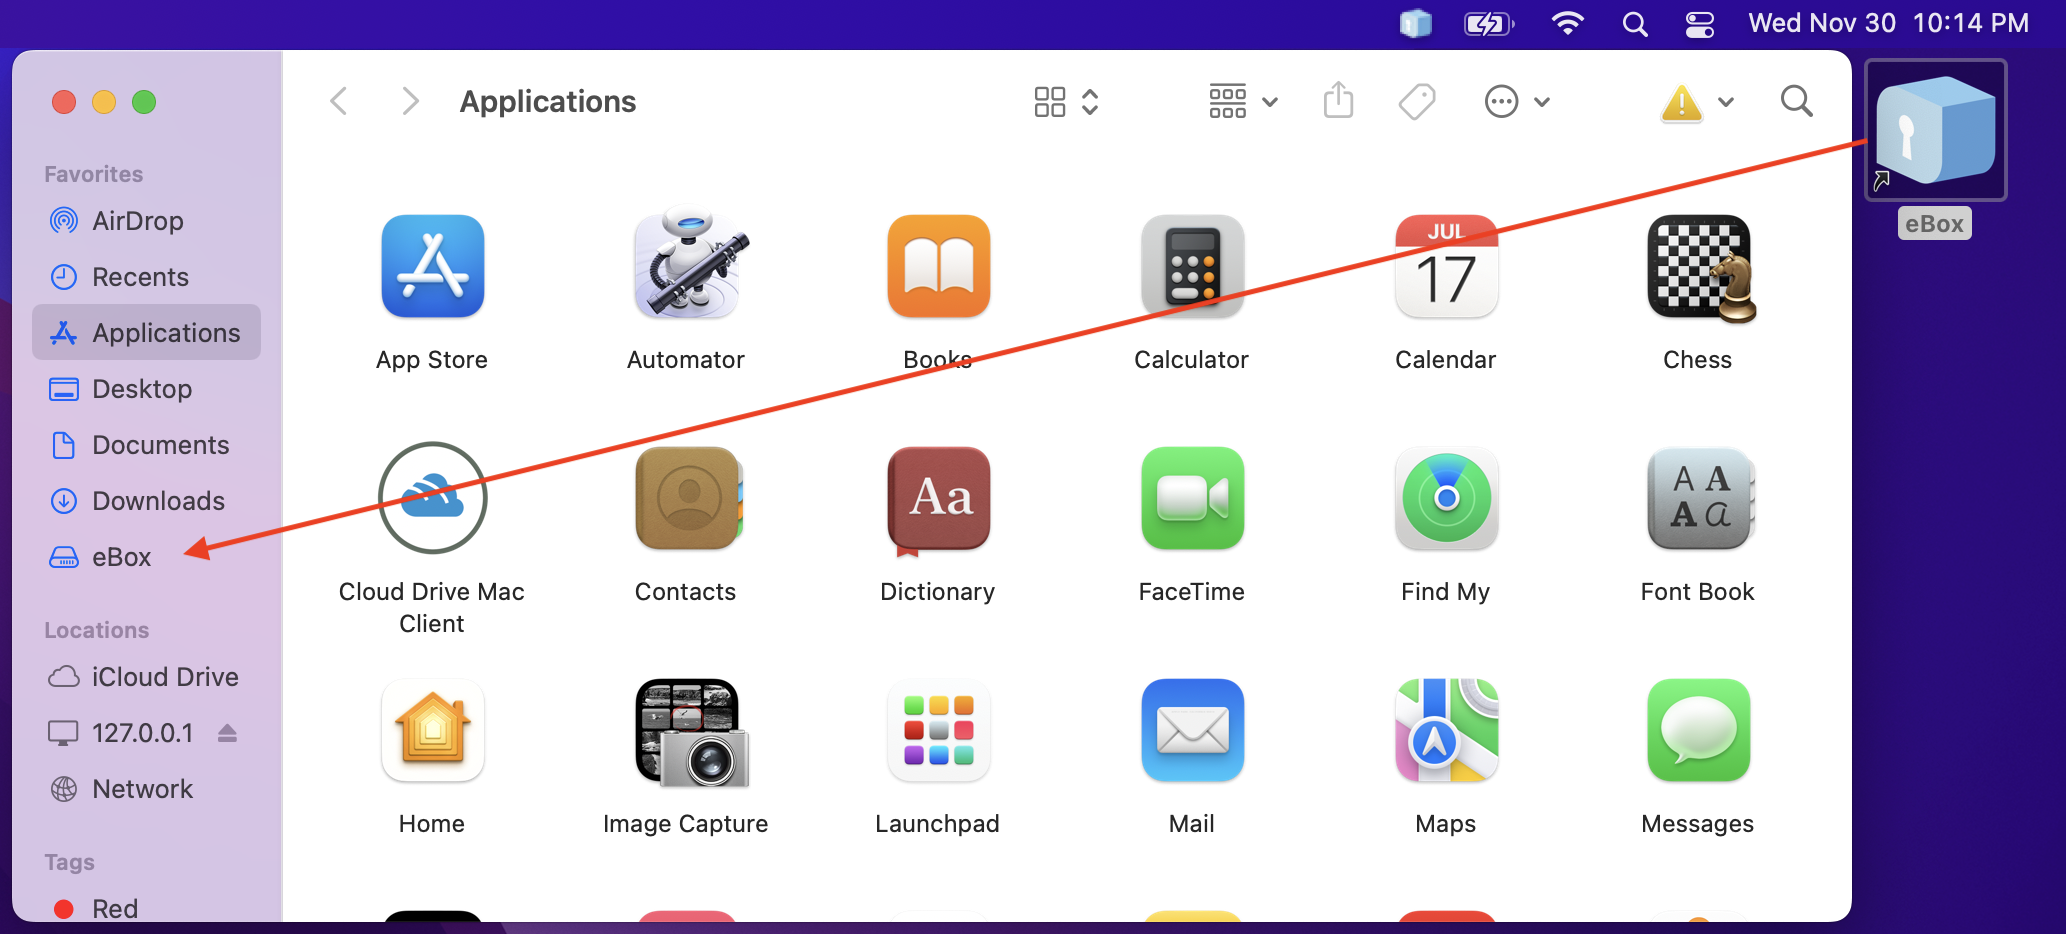
Step 24: Add eBox to Finder
Drag the eBox shortcut into Favorites in Finder for easy access.
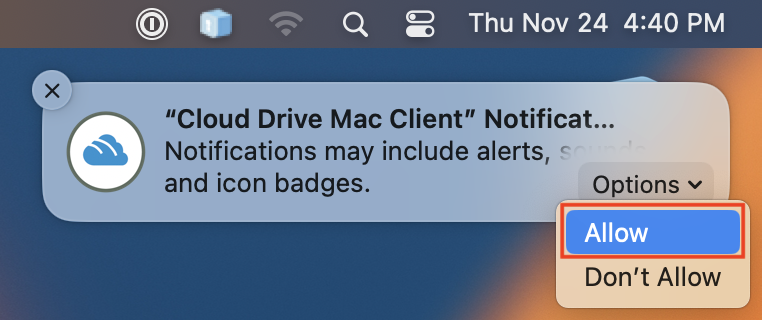
Step 25: Allow notifications
When you see this notification, click the Options drop-down menu and select Allow.
Files you use often are kept in your 10GB eBox Cache on your drive for quick access. The rest stay in the cloud. You can open cached files even with no internet, which is handy for laptop users in the field. When you reconnect, your changes sync to our cloud.