Send Large Files with Secure File Link
Send files up to 2,000MB with a secure link instead of an attachment: upload, set protection, and add the link to your email.
With Secure File Link you can send files up to 2,000MB to anyone. Instead of attaching the file, you put a secure link in your email and your recipient downloads the file straight from our servers.
This gets around the attachment size limit on the recipient's side. Most email providers reject attachments of 25MB or more. A secure link does not have that limit.
Secure File Link only protects the file the link points to. It does not protect the subject, the text of your email, or any file you add as a regular attachment. To protect the whole message, put the secure file link inside an encrypted email.
Part 1: Upload your file and set its protection
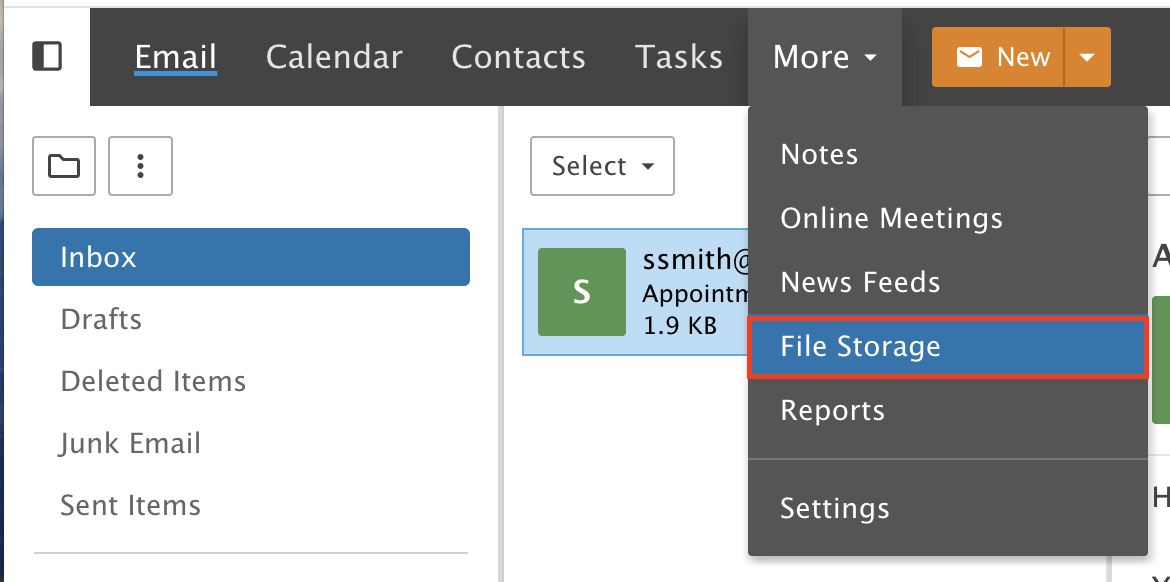
Step 1: Open File Storage
Click the More drop-down menu and choose File Storage.
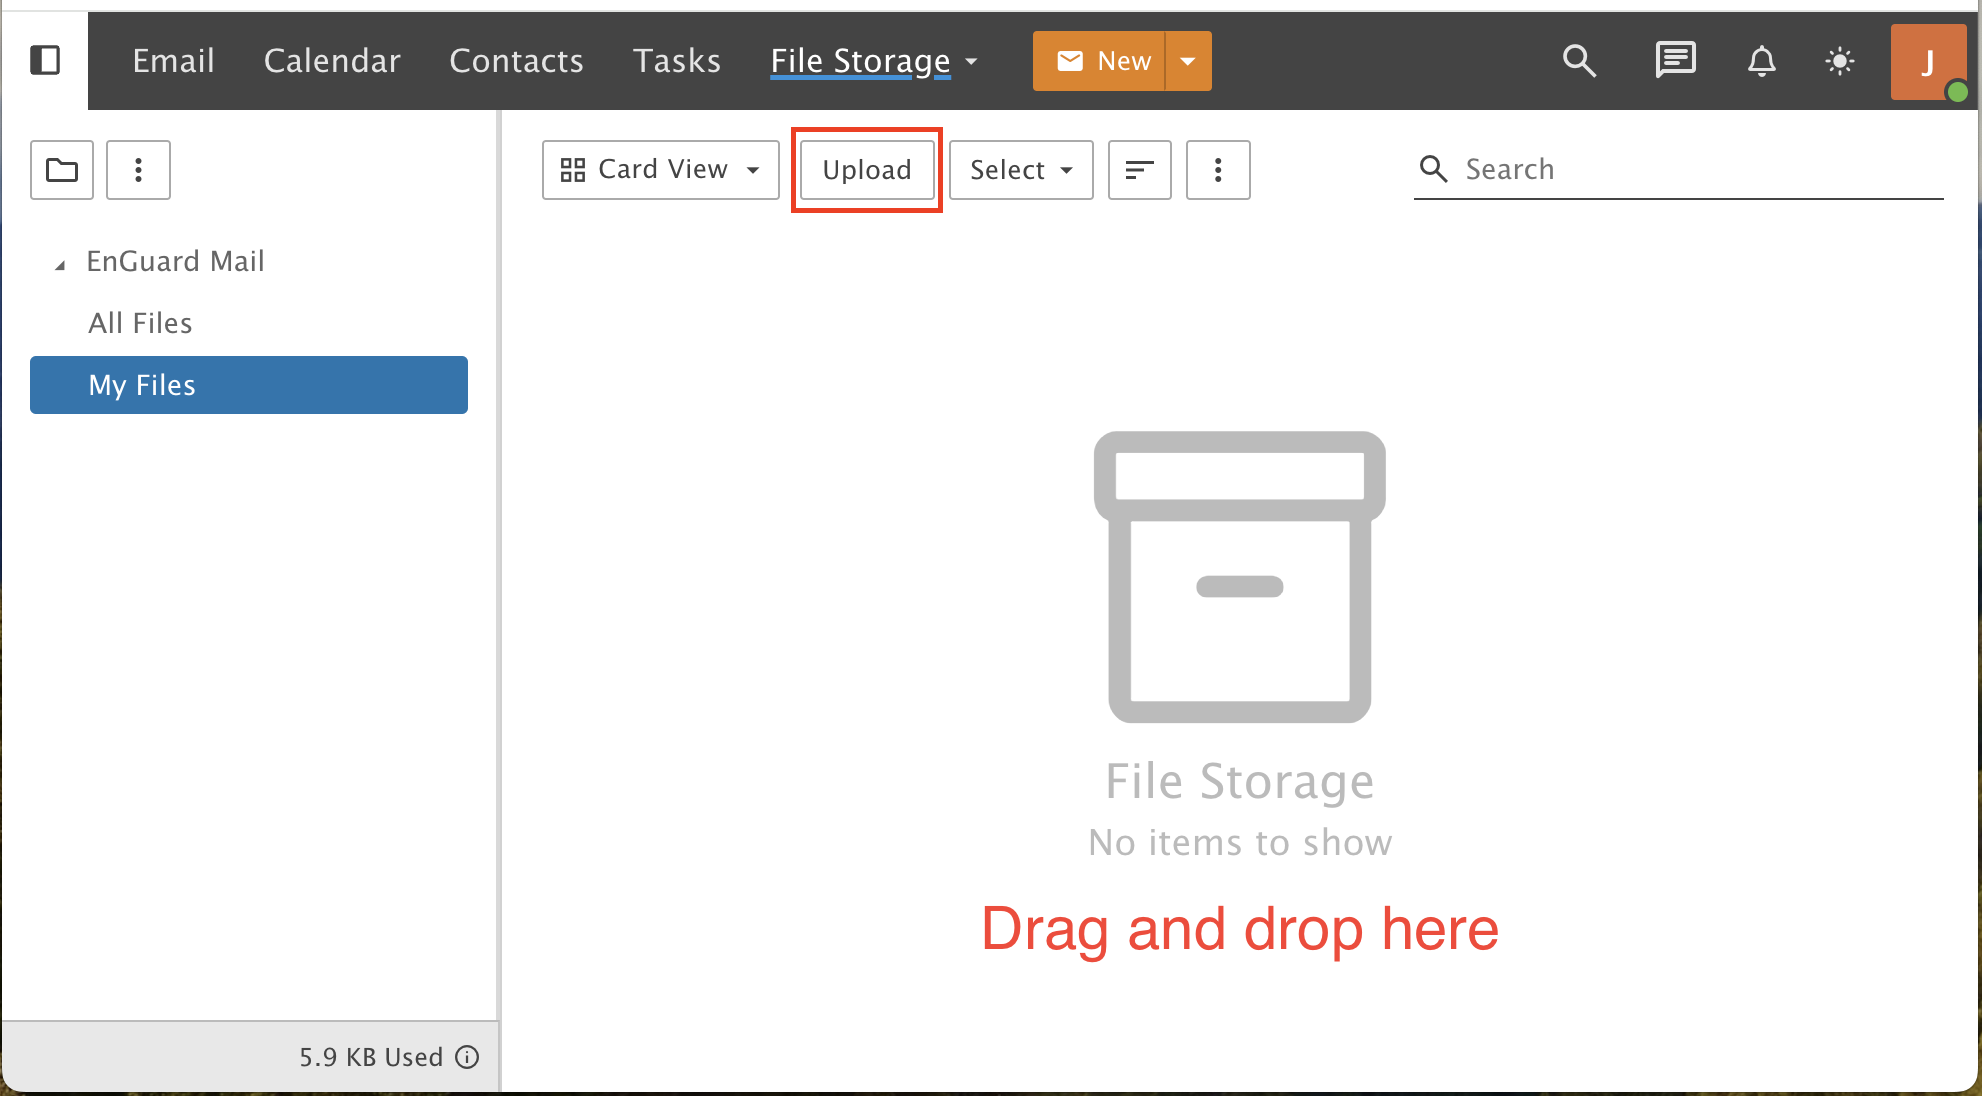
Step 2: Upload the file
Click Upload and pick a file from your computer, or drag and drop the file.
Step 3: Open the file
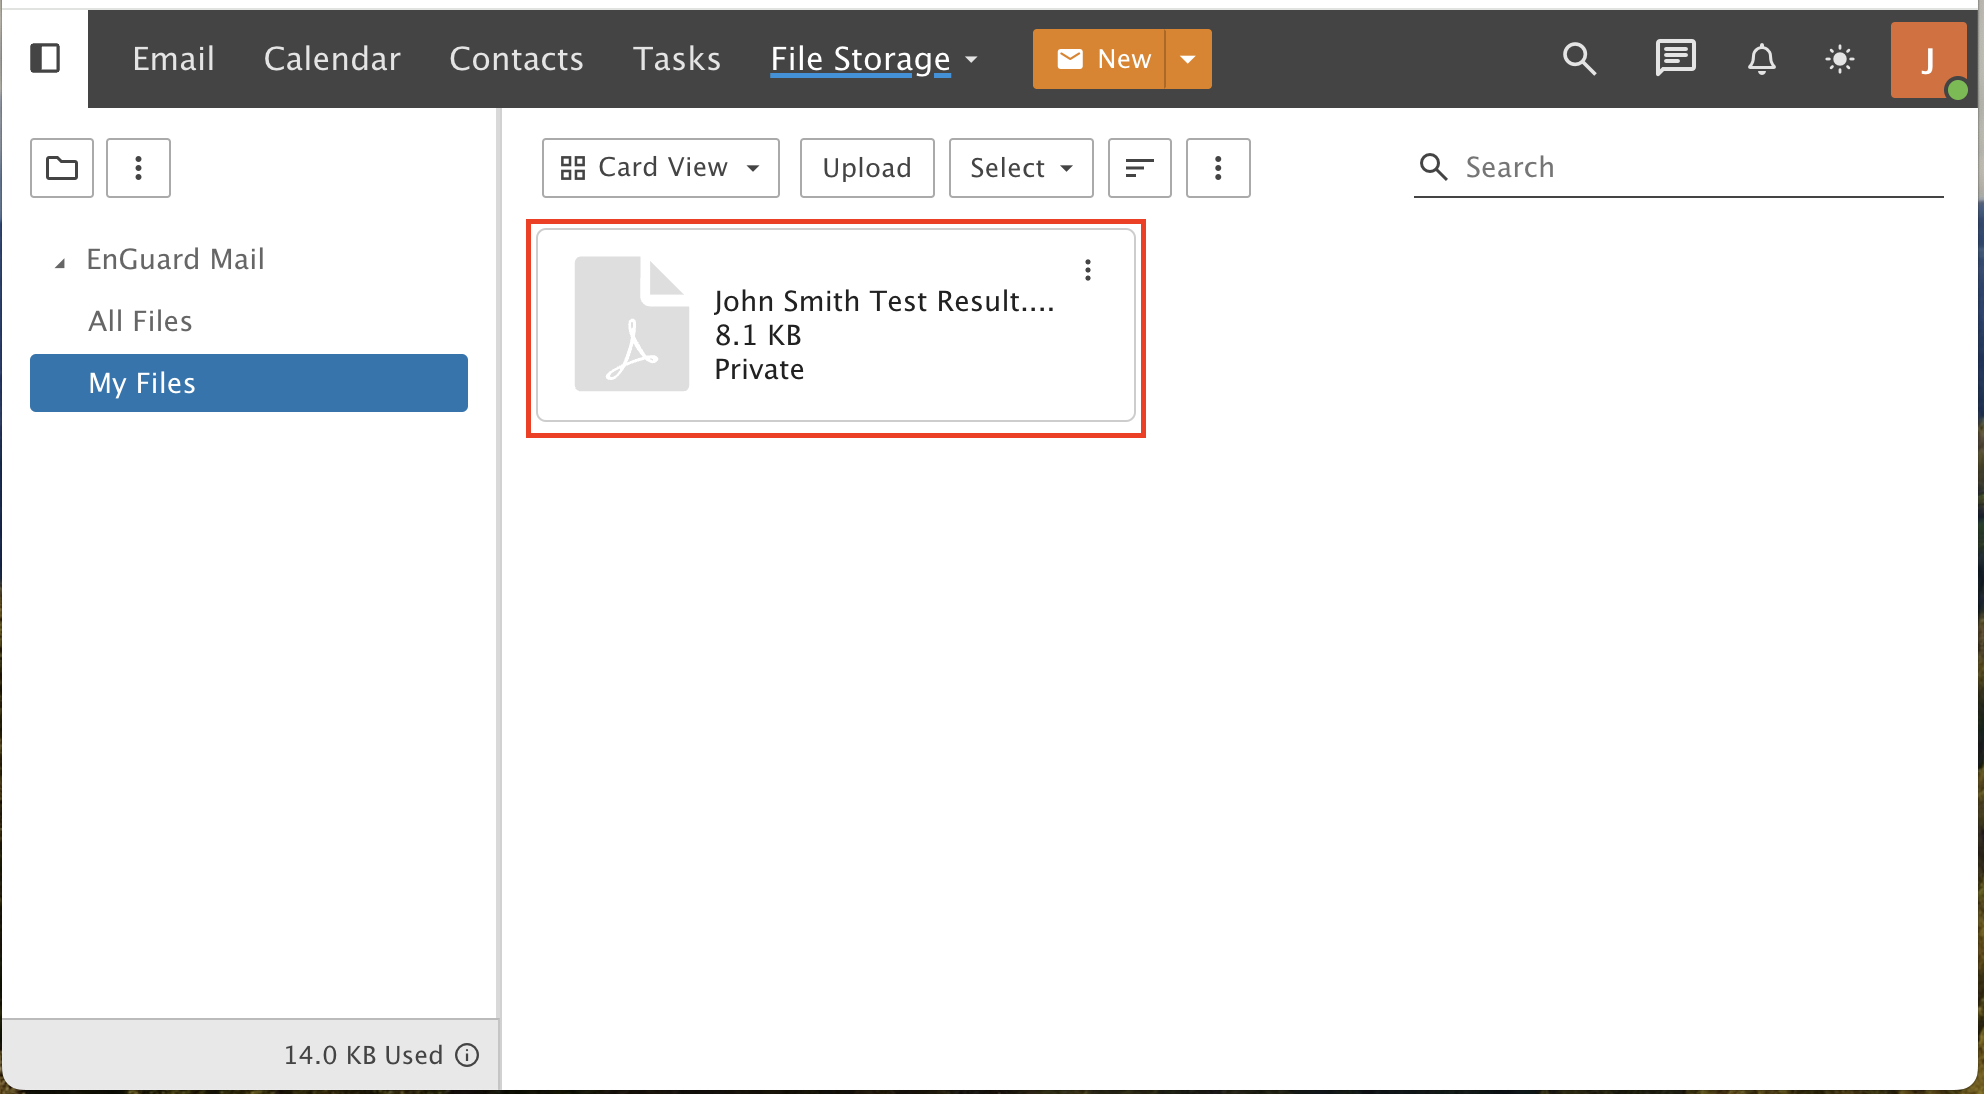
Click the file you just uploaded.
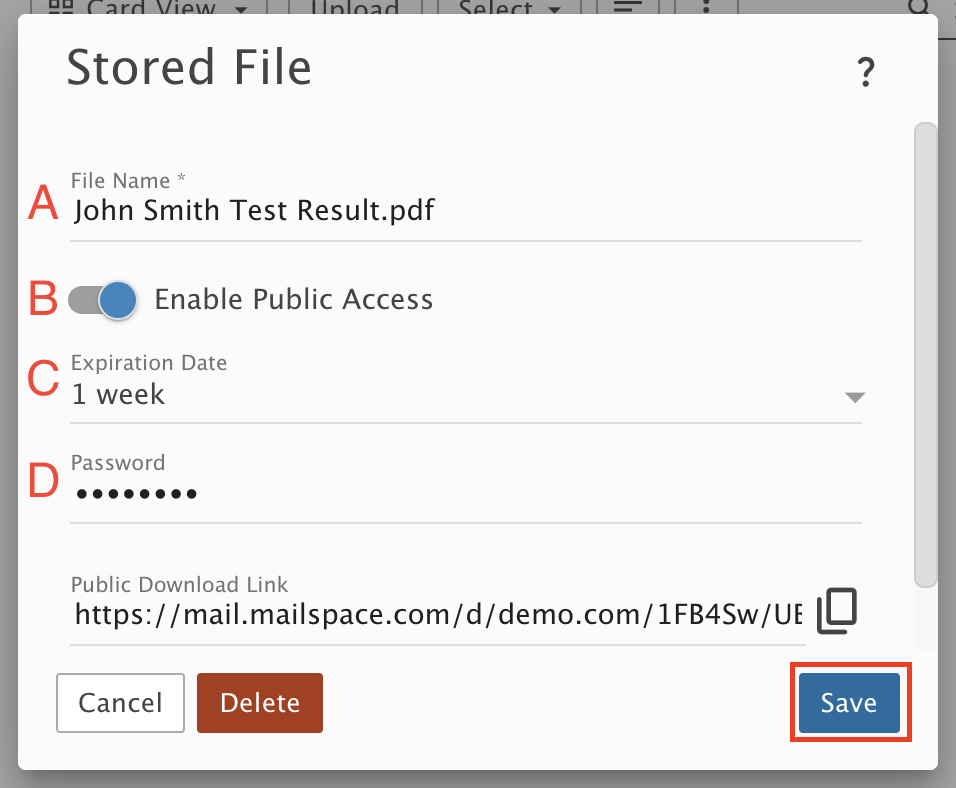
Step 4: Set the protection options
A) Rename the file if you want to. Do not delete the file extension (for example, .pdf).
B) Turn on Enable Public Access by sliding the toggle to the right. This creates the encrypted link.
C) Choose an Expiration Date so your recipient has a limited time to download the file. For HIPAA compliance, you should always set an expiration date. If you choose None, you must set a password in the next option.
D) You can also protect the link with a password for an extra layer of security. For HIPAA compliance, a password is not required if you set an expiration date. If you did not set an expiration date, you must set a password.
For security, do not put the password in the same email. Give it to your recipient by phone call, text message, or in person.
You can also choose a password your recipient will know, such as their phone number, zip code or the numbers in their address, and add a password hint to your email. For example, you could use the last 4 digits of the patient's social security number as the password, and write in the email that the password is the last four of their social security number.
Click Save.
Part 2: Add the link to an email
Step 5: Start your message
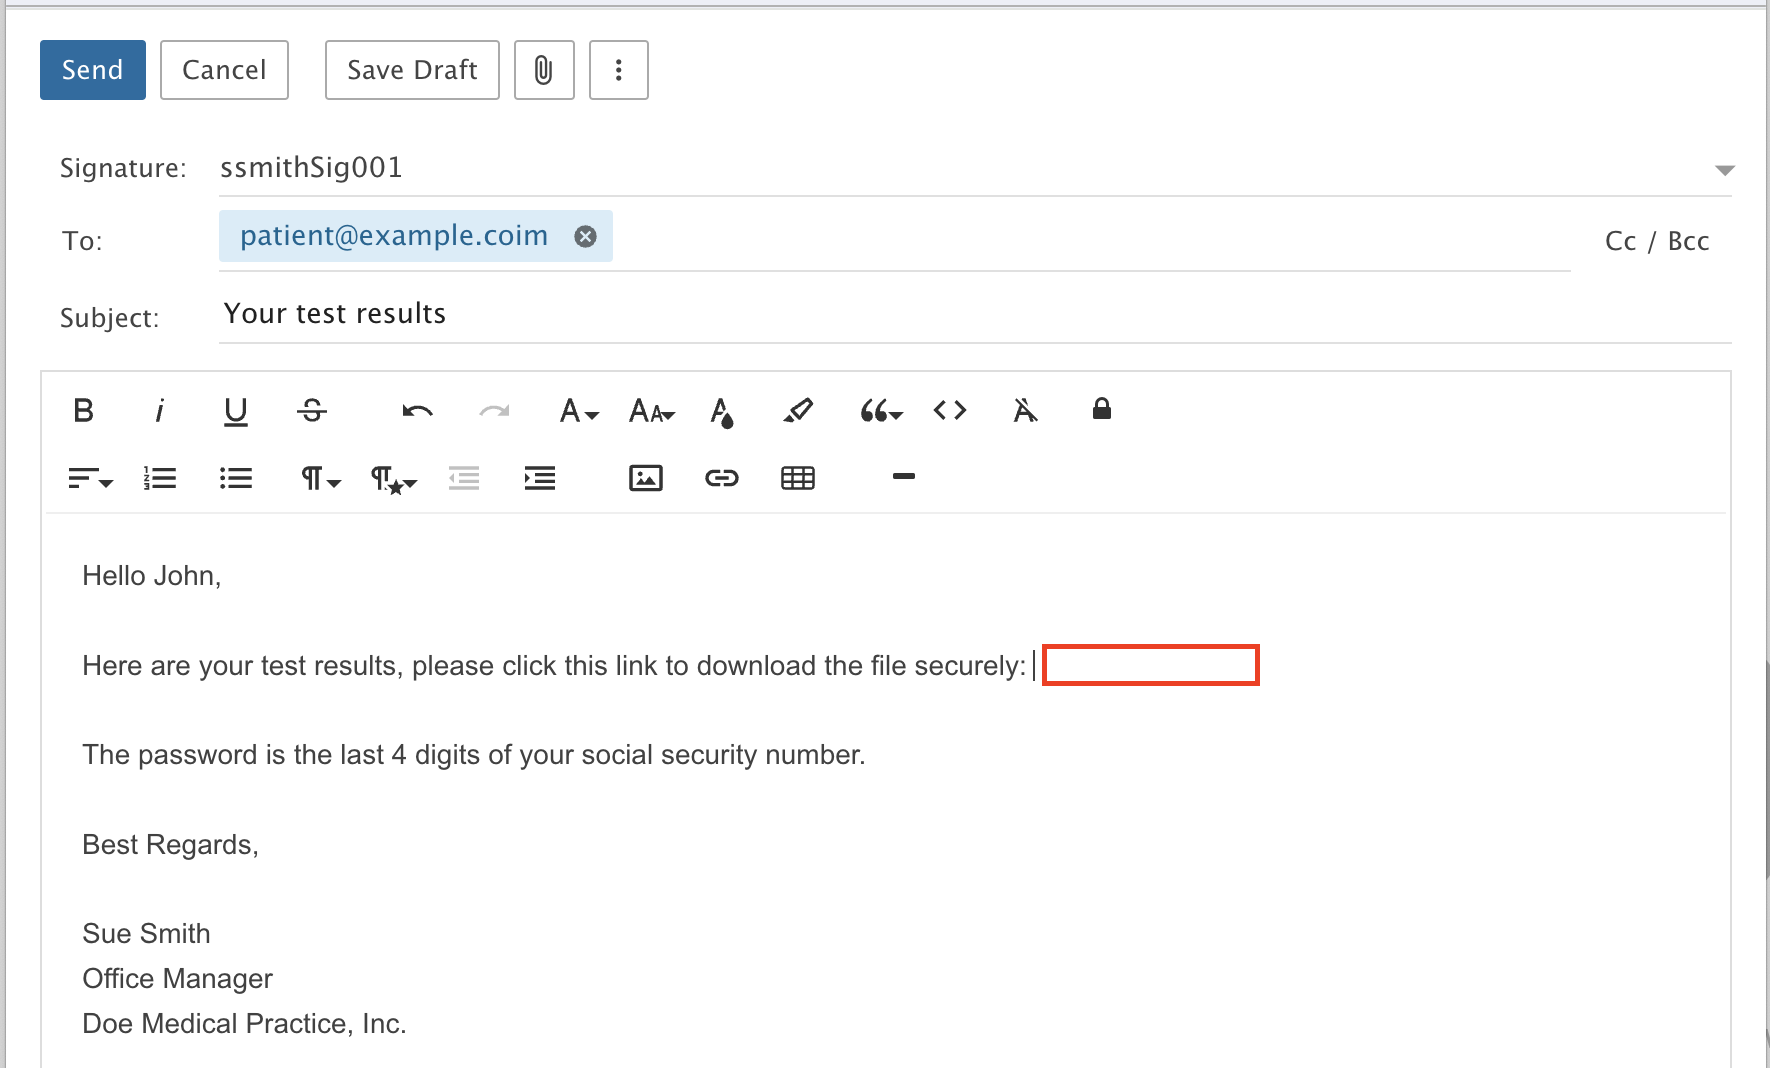
Compose a new message and type your text. Then place your cursor where you want the link to go.
Step 6: Choose Secure File Link
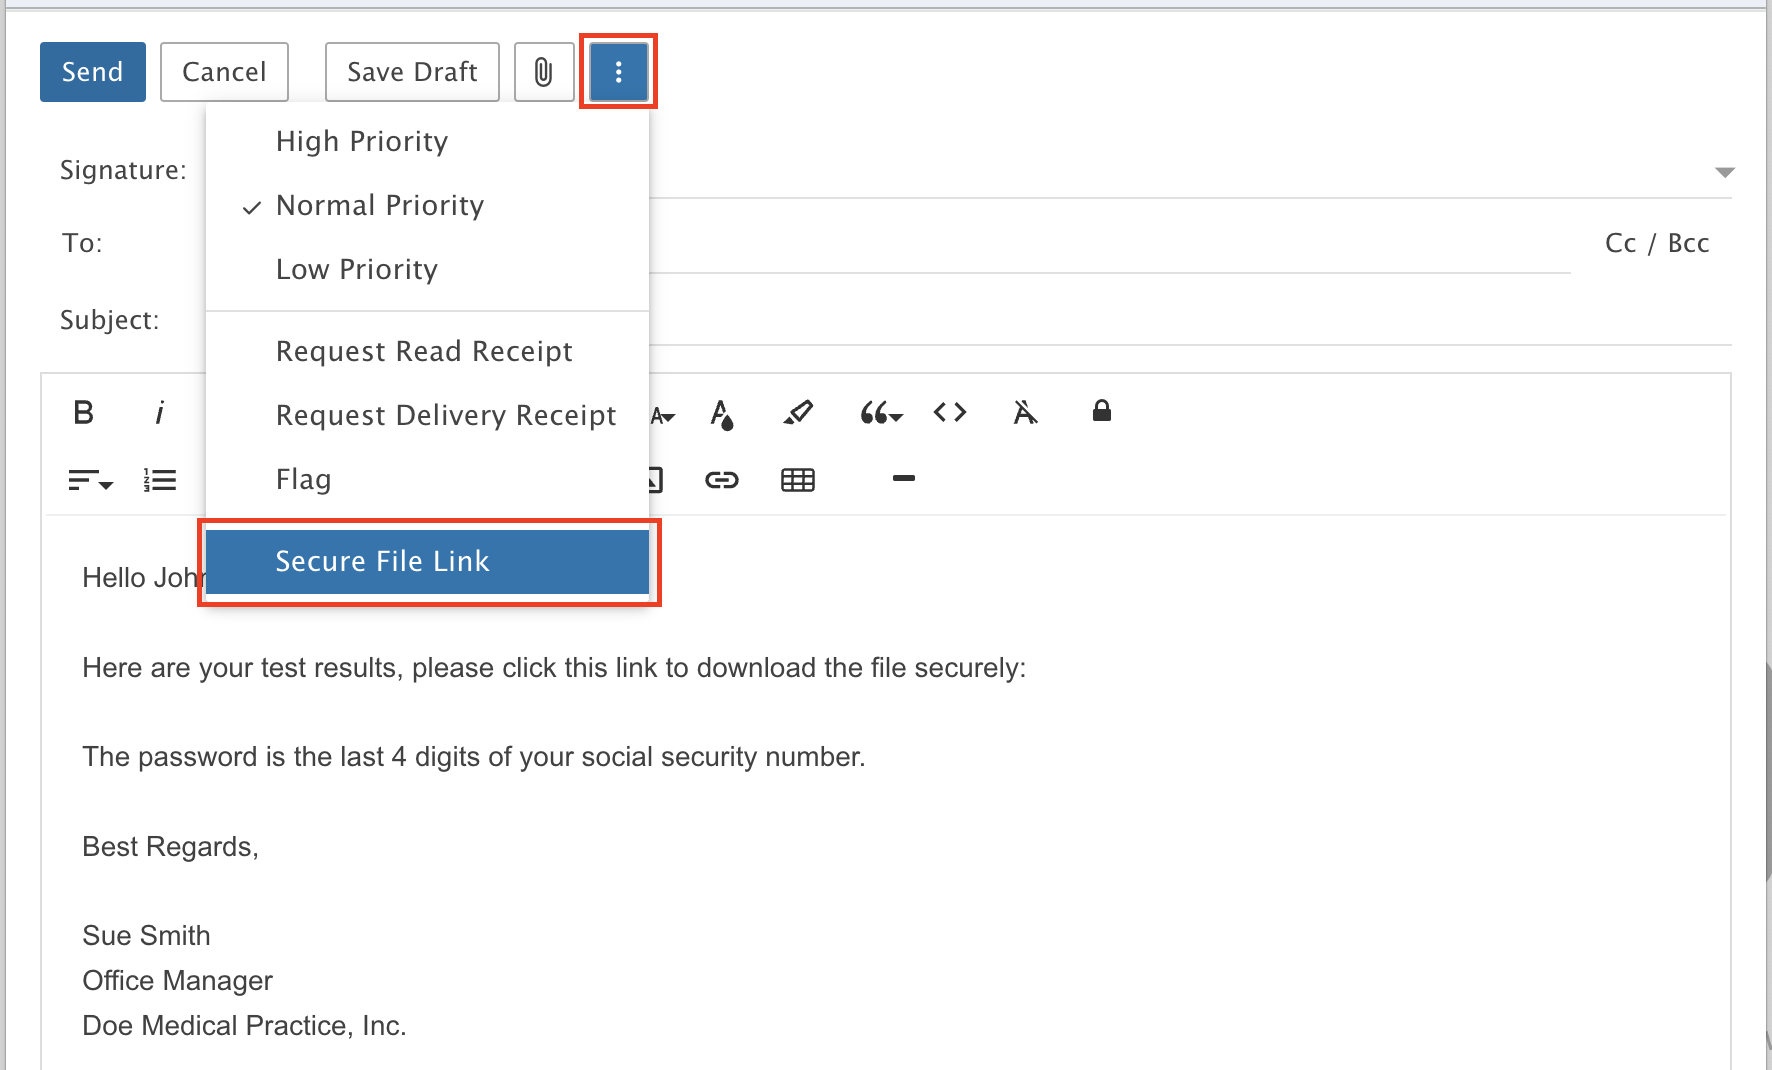
Click the Actions menu and select Secure File Link.
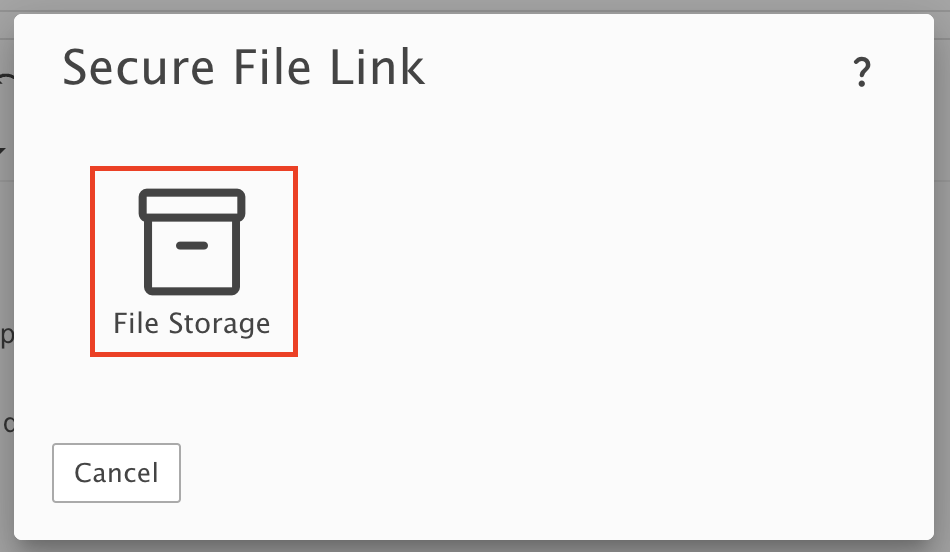
Step 7: Open your files
Click the File Storage icon to see your uploaded files.
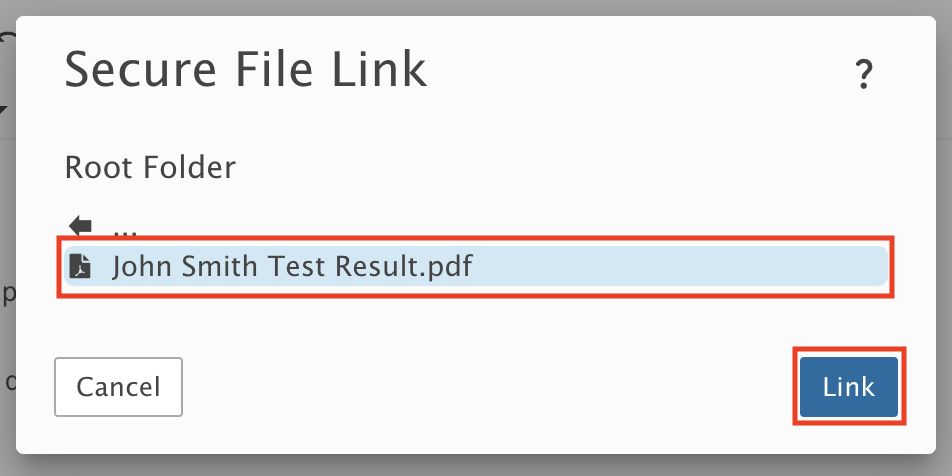
Step 8: Pick your file
Choose your file and click Link.
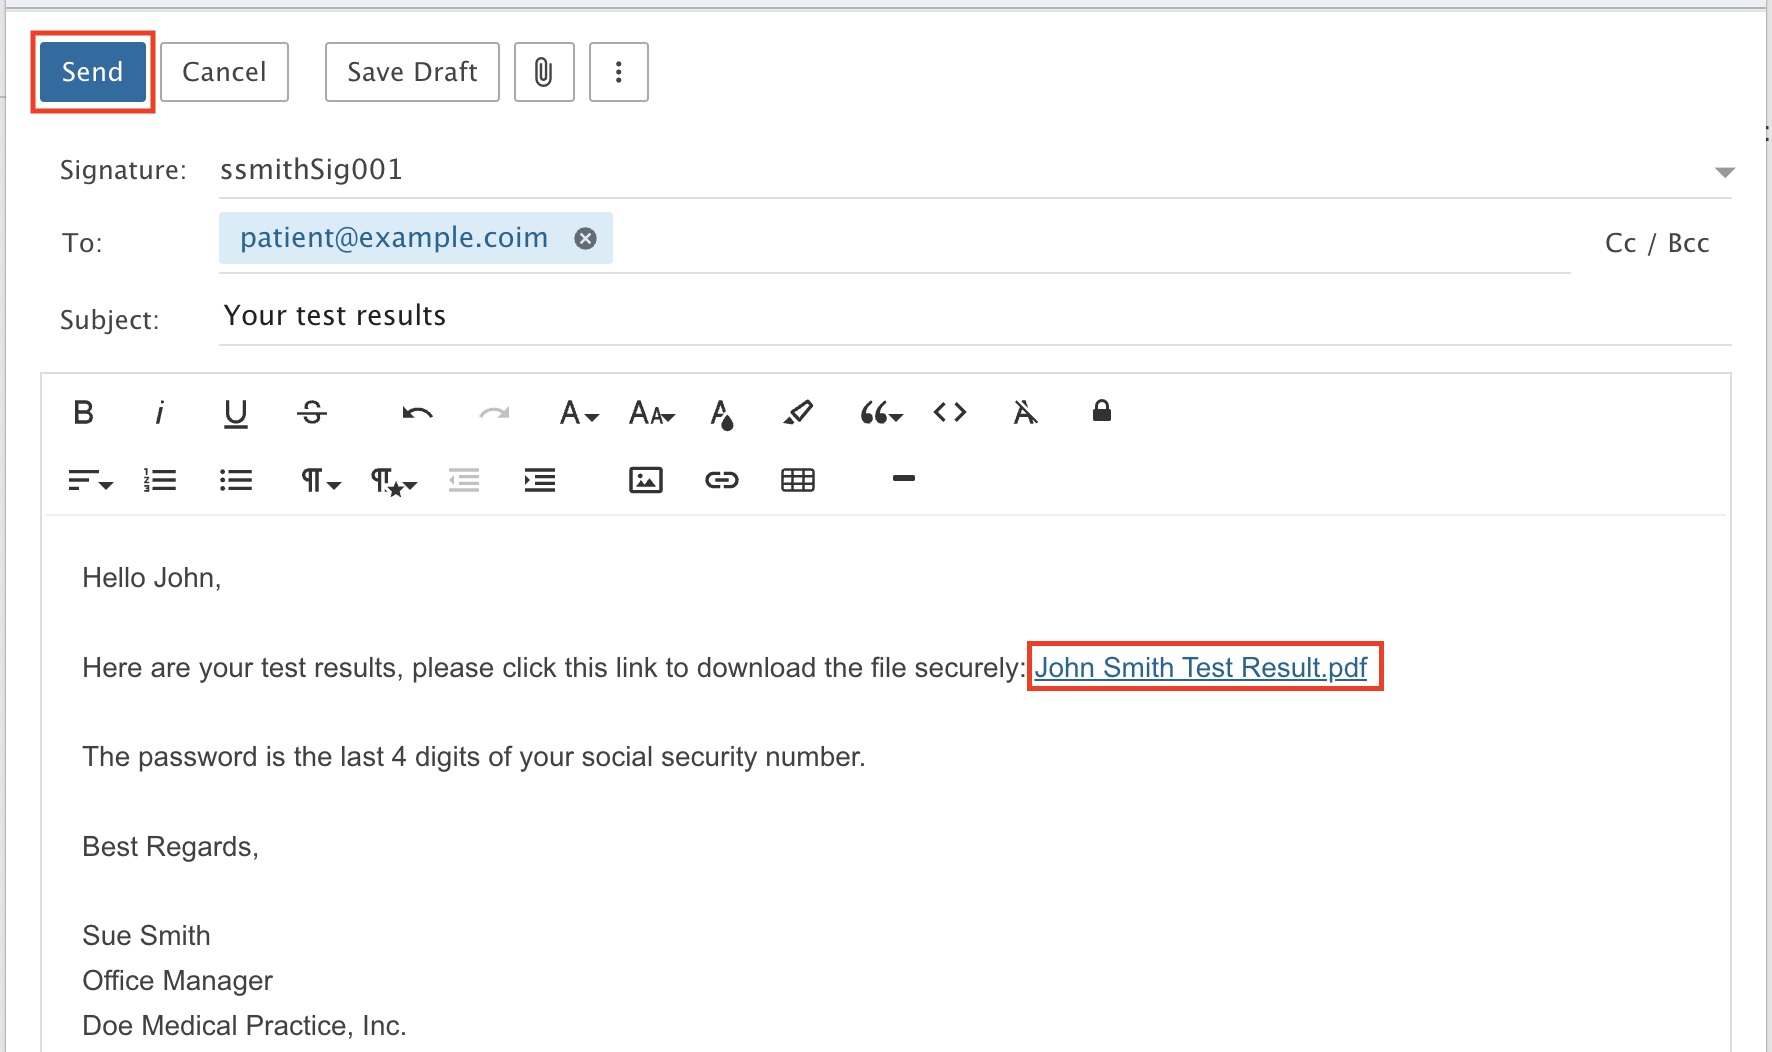
Step 9: Send your message
Your clickable Secure File Link is now in the message. The link text is the file name. You can add as many secure file links to an email as you like.
When you finish writing your message, click Send.
Good to know
- Your recipient clicks the link in your email and the file downloads right away.
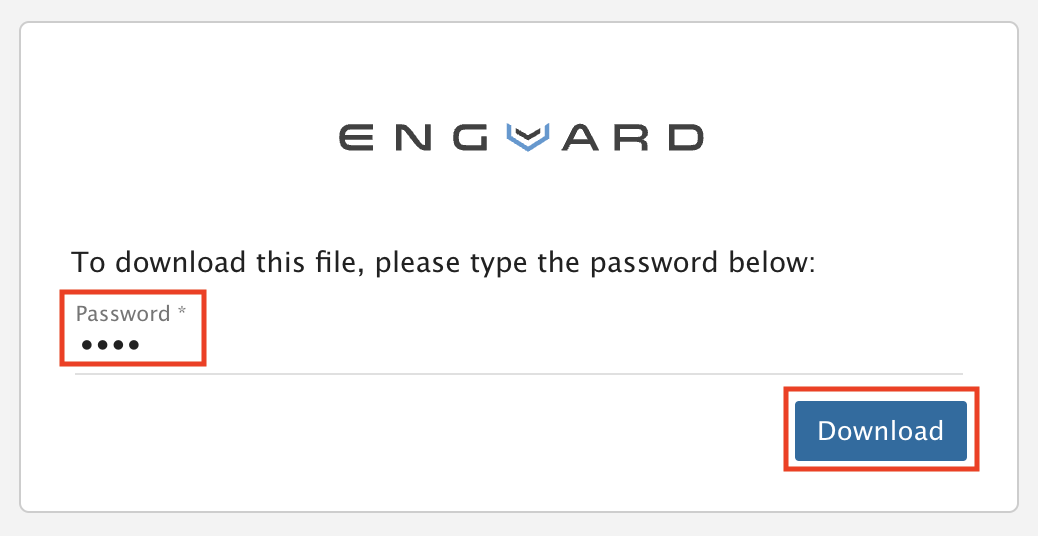
- The password page only appears if you set a password on the link.
- If you set an expiration date, the link stops working after that date. You can go back to the file's settings in File Storage to extend the date.
- Make sure your recipient has downloaded the file before you delete it from File Storage. Once you delete the file, the link no longer works.
- Files in File Storage count toward the storage space on your email account.
- You can delete files from File Storage at any time to make room for new ones.
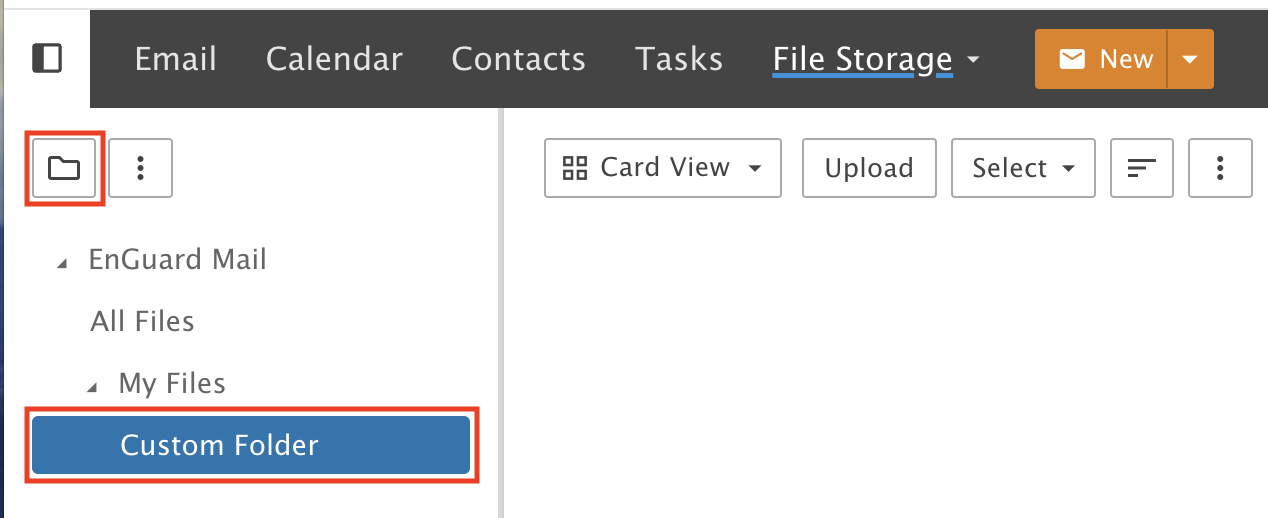
- You can create custom folders to organize your files.